Home Office Refresh
March 1, 2019
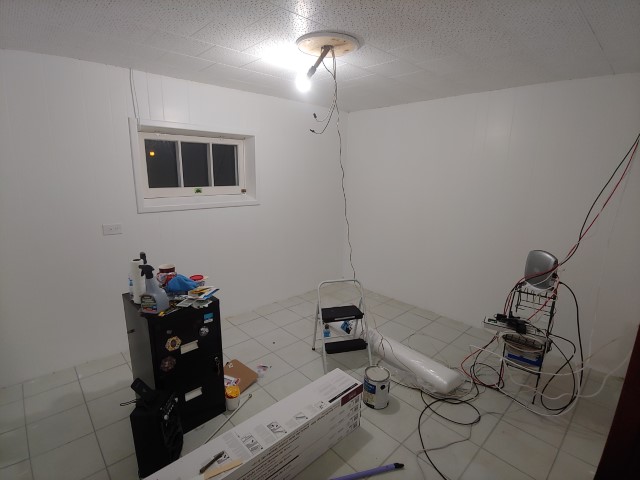
Well if you’re reading this not long after it’s published you know I’ve been lacking on the updates to my site for a little while now and between busy tire season at work and having to move back to the Blue Mountains and find a new job I haven’t really had time nor my computer to be able to do updates but I’ve finally gotten to a point where I have my computer up and running and I can finally do some much needed updates to my site. So since I have moved back home I have tasked myself with improving the family home. One of the areas of the house in need of much TLC is the home office that had been neglected since my father passed away over a decade ago. The room eventually turned into a put it in the storage room and forget about it kinda thing.
First thing first was to clean out the room, with it being neglected for so long and being in a basement there was a log of things to take out and unfortunately some surface mold that would have to be delt with.
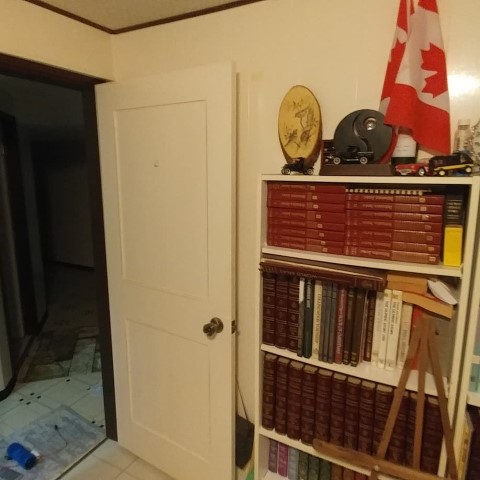
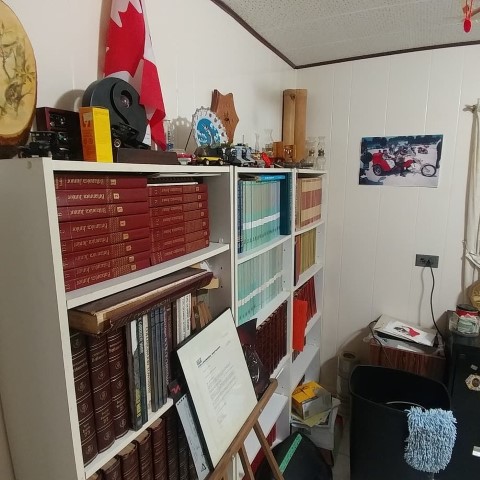
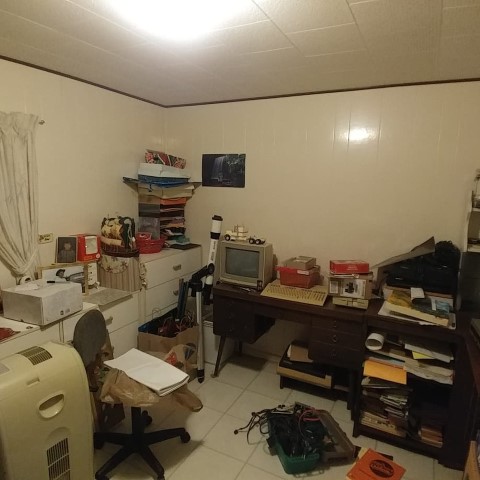
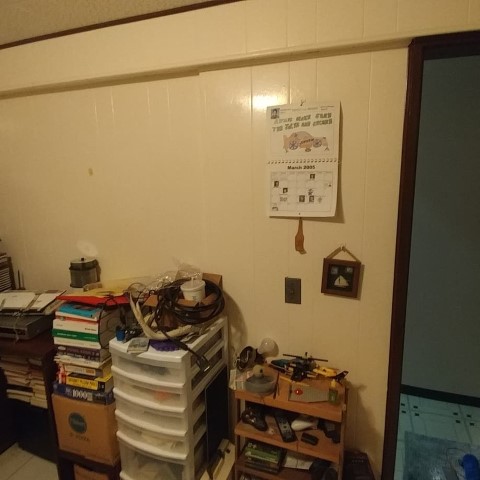
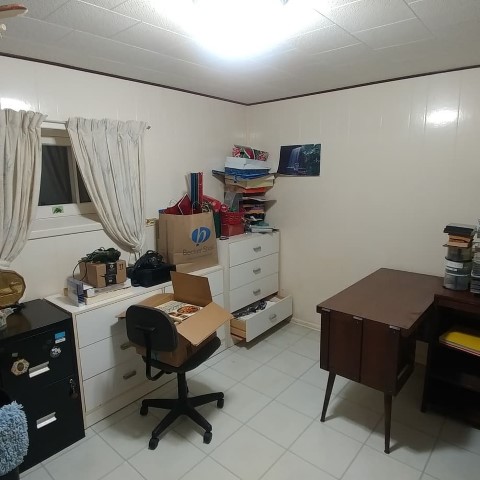
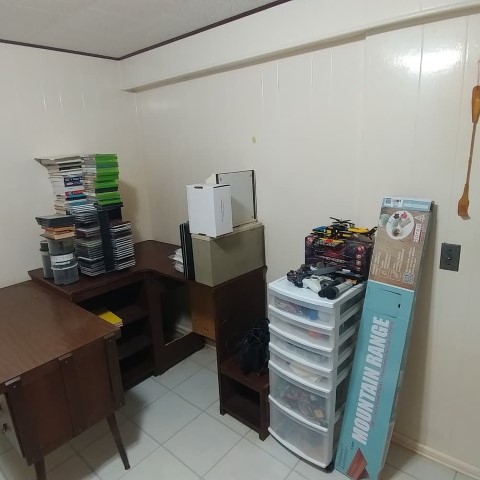
I believe it took me about 2 or 3 weekends to get the room completely emptied and cleaned of mold. There were a lot of books and a lot of things that well were mostly forgotten about and not really needed.


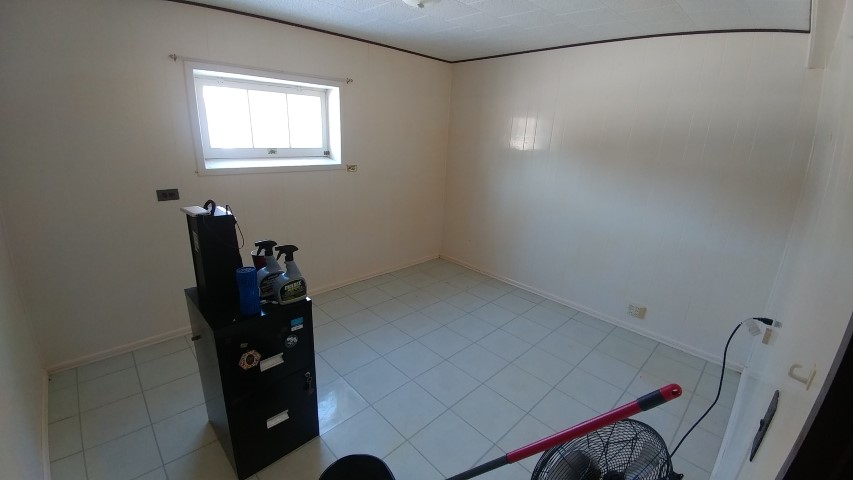
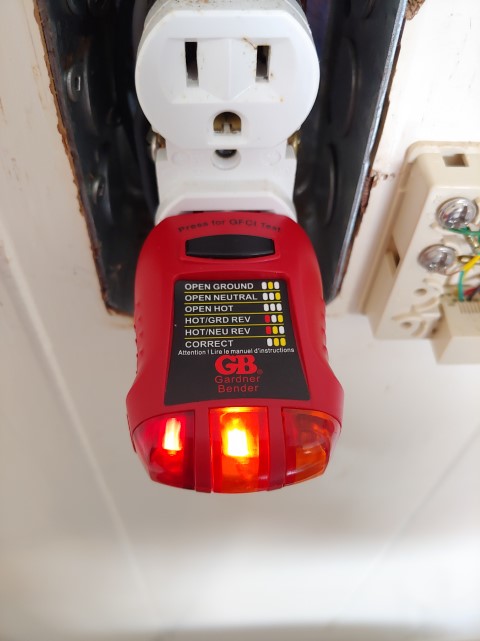
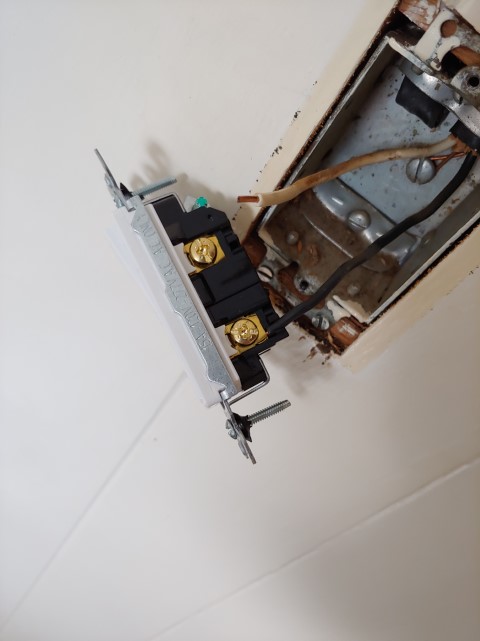
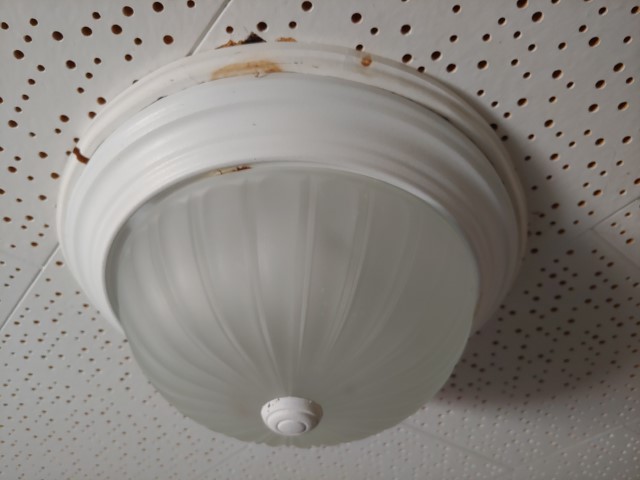
With the room nearly empty it was time to start refreshing it first wast to replace the outdated looking plugs and light switch. It also turned out that one of the plugs was actually wired incorrectly, so it’s a good thing I’m doing a refresh.


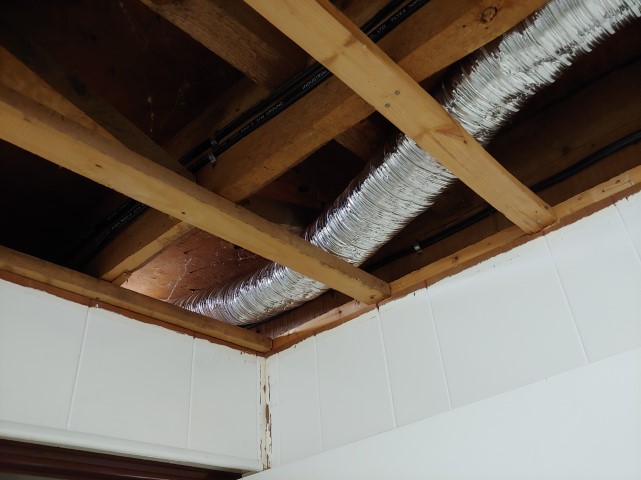
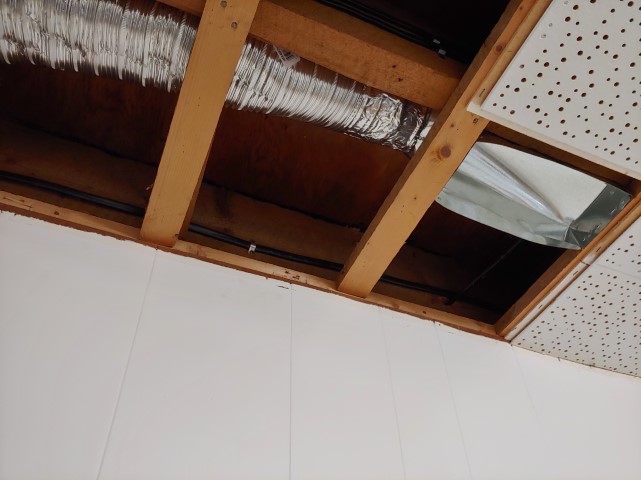
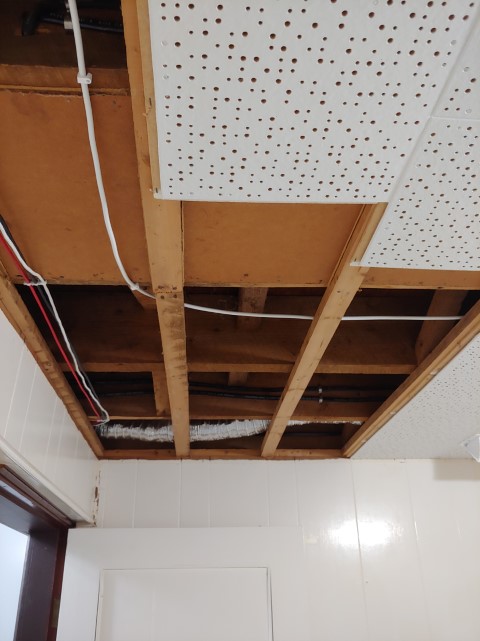
With the outlets and switch replaced I decided to run a heating vent into the room to help reduce moisture especially during spring. Originally I would have liked to run a vent into the room above as well but unfortunately due to the layout of the house it was impractical to do so because of the location the vent would be in the room. So a vent in the office was the only practical thing to do and the heat would naturally radiate to the room above anyways. It was actually quite hard to run the venting about 20ft along the joists and without removing the entire ceiling and cutting many braces I could only run flexible aluminum venting. Not Ideal but it does the job.


While I had most of the ceiling down I thought it a good idea to run all my needed cabling so that it will be mostly hidden. I had to somewhat plan the home network since the main modem/router would be in the office. As you can see in the diagram below it is a relatively complex home network mainly due to the old style construction of the house(foil wrapped insulation) and the want to have wifi available to the entire 1 acre property. The main router modem handles the 2G/5G wifi in the office since the 5G doesn’t go far beyond the office itself. The rest of the property and house are covered by a 2G unified network using some old routers as access points. Devices boxed in the same color as the wifi boxes run on those networks most of the time. Special note are the media pc and console which the console gets internet via a bridged connection on the media pc(console is for casual gaming). Another special note is the network printer is actually also accessible to devices in the blue unified network.

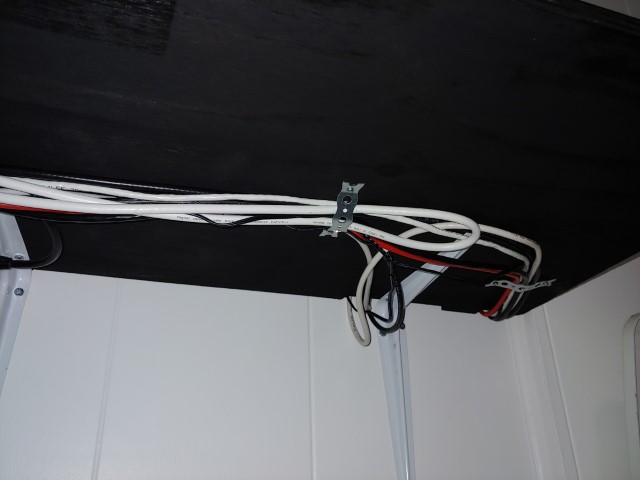
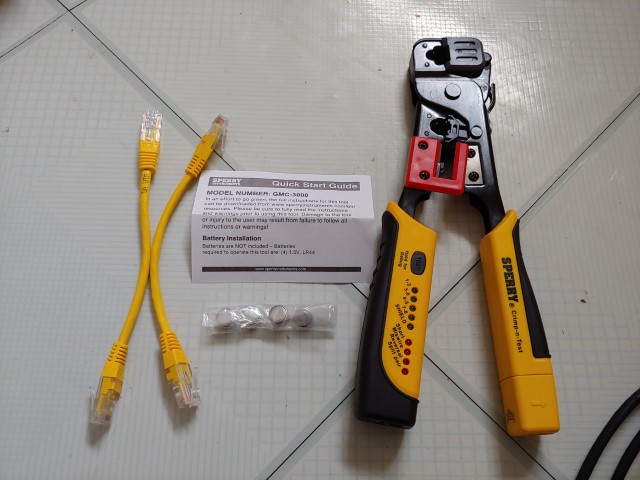
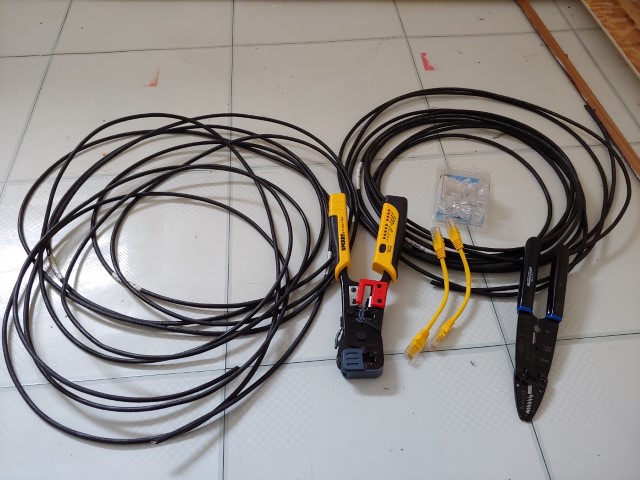
After planning the network I began to run the cabling. Luckily just before I left my job as an Automotive Supervisor we finally got the approval to install a camera system meaning there was a ton of cat5e that the installation techs just threw out because it was the ends they cut off their runs. I think I probably got about 100ft total out of the 4 pieces I scrounged out of the garbage. So with that extra cat5e and all the other ethernet cabling I already had I knew I’d have enough. Only problem is I didn’t have my own RJ45 crimp tool so I had to go buy one of those and I sprung for the one with the included tester. I also kinda found it funny that the instructions say batteries not included but they were in there anyways, bonus!


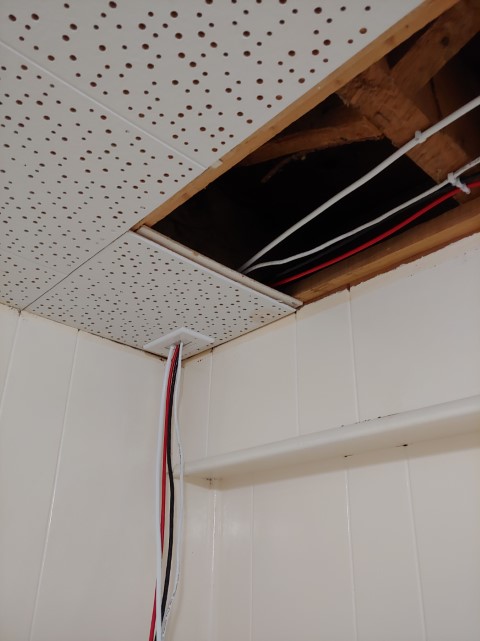
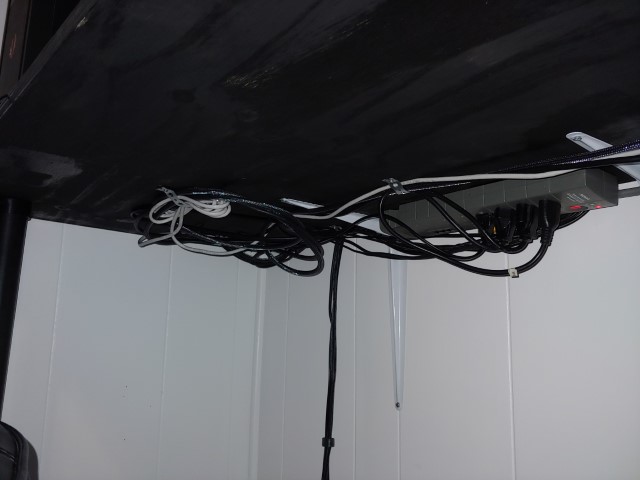
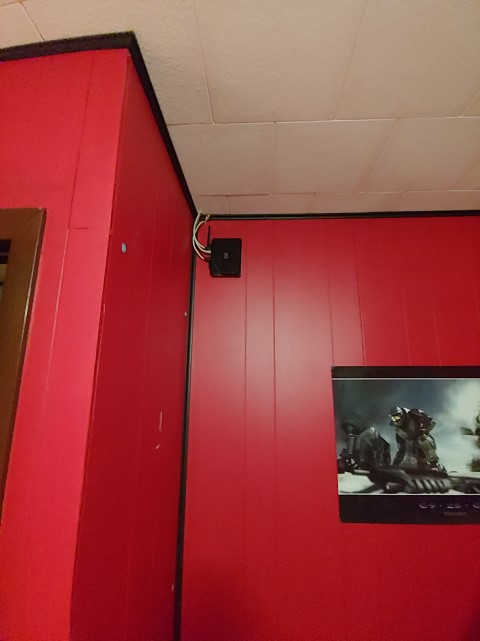
So after I got the runs in and connected to the cable modem it was time to clean up the mess of wires from the old DSL modem and mount the router/access point in a more pleasing location. The other access points were already wired and in place so it was mainly just this one I needed to work on.


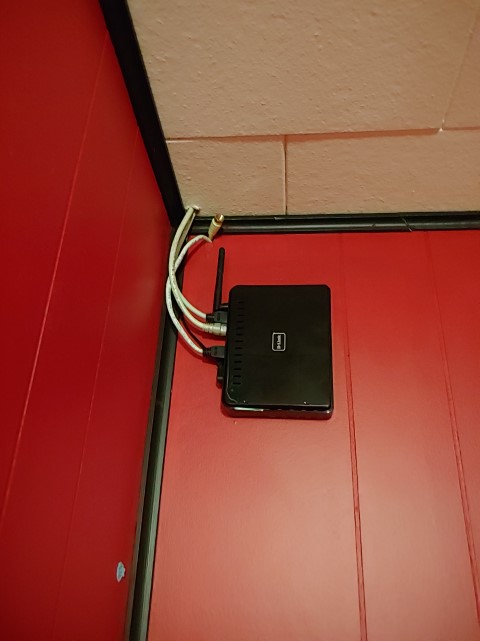
I think it turned out pretty clean, especially since the DC adapter is plugged in above the ceiling. This is AP #1 in the diagram supplying wired internet to the adjacent bedroom smart tv and a line to AP #3.
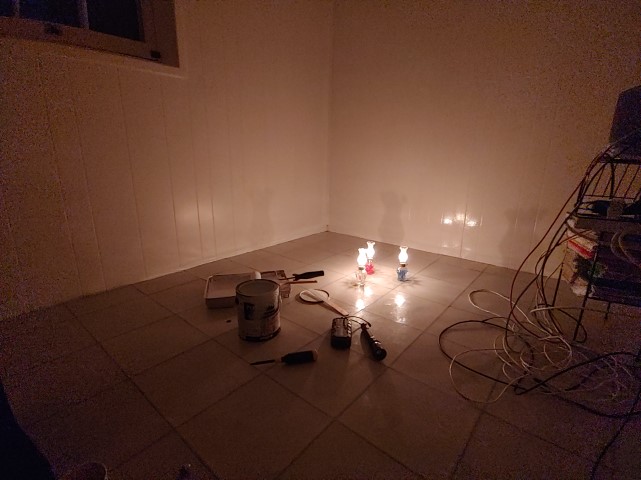
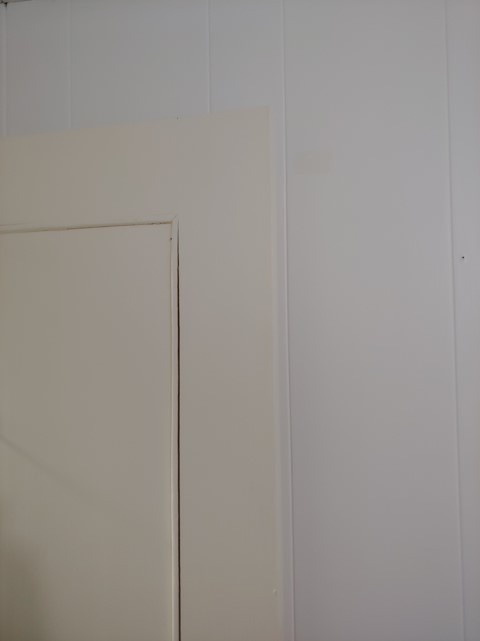
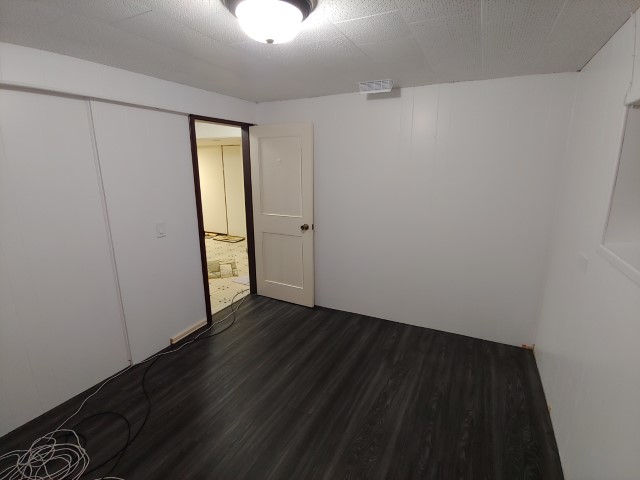
Next was to paint the walls and ceiling with mold proof paint. Since the flooring I was going to install was dark in color I opted to keep the Zinsser Perma-White paint its pure white color for both the ceiling and walls. Of course though silly me thinking I wouldn’t have any issues simply painting the walls and ceiling. Turns out just after starting my second coat on the walls the power just had to go out so I had to finish my painting basically in the dark but it turned out pretty good regardless. I ended up finishing the ceiling and light fixture the next day.


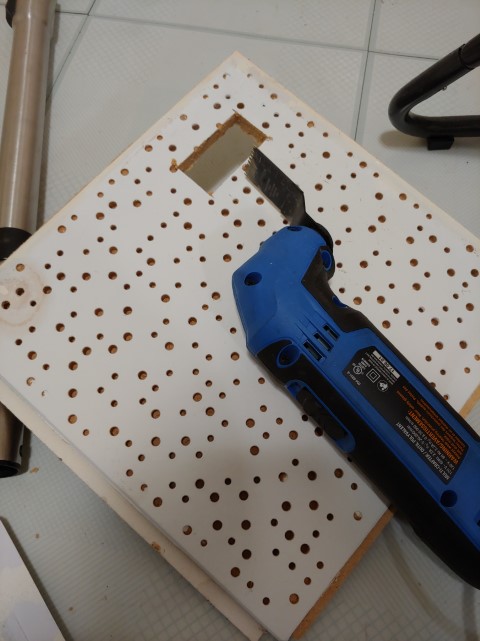
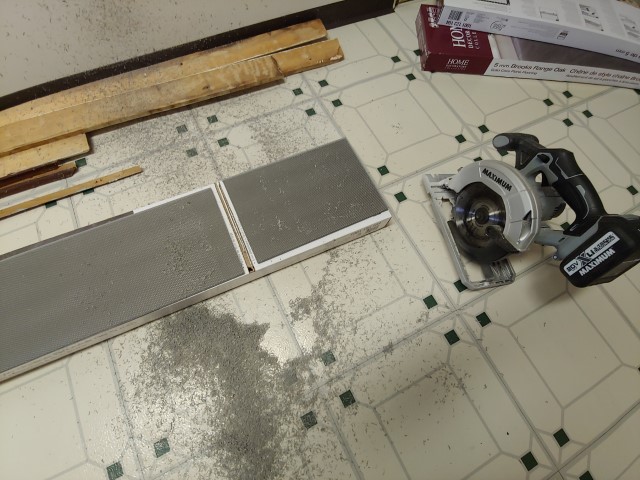
With the ceiling and walls now dry I began to install the flooring. I used vinyl plank flooring that is rated as waterproof and has a lifetime residential warranty. I also installed an additional foam under layer to help with insulation. I would have loved to install a proper sub floor or under floor heating but I originally planned to renovate this office with a budget of under $1000CAD so unfortunately those items wouldn’t fit into the budget. The nice thing is that the flooring went smoothly and looks really nice. A pro? ok maybe not so pro but a tip anyways, if you’re careful and need to use a circular saw to cut your planks you can use the empty boxes as a good cutting surface by setting your saw depth just past the flooring thickness.


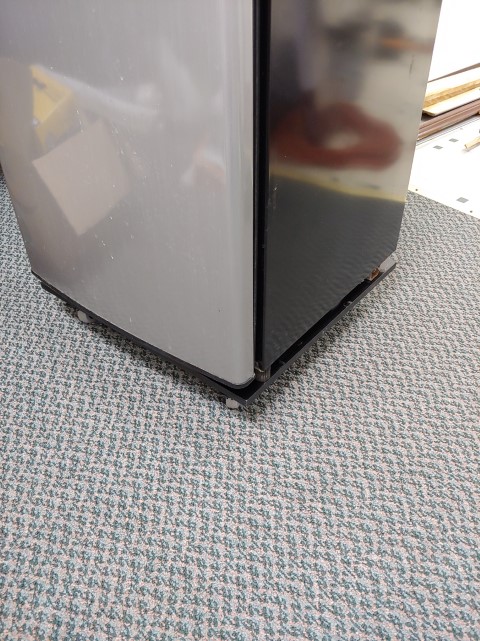
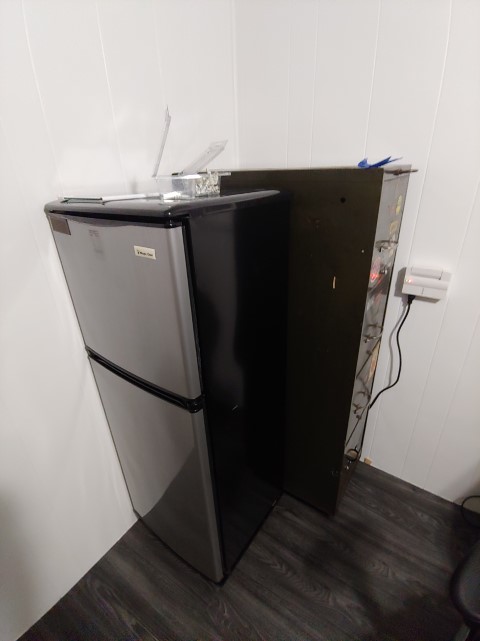
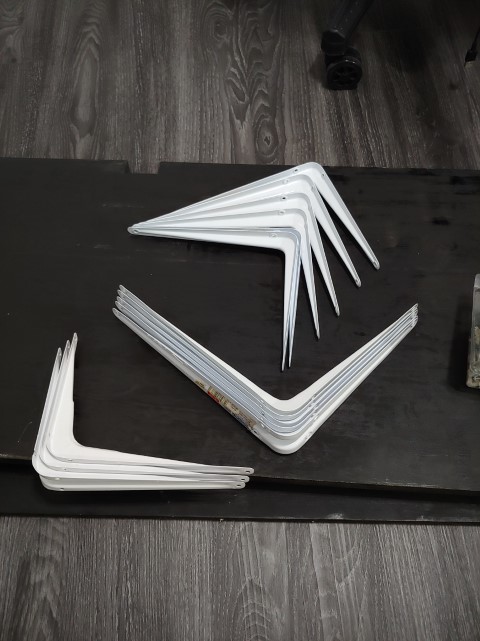
Once the flooring was installed it was time to get the half size fridge and large 4 drawer filing cabinet in place to start positioning them since the desk would be attached to the wall and wouldn’t be bale to be easily moved afterwards. Since I planned to not have inaccessible areas of the floor to avoid moisture and mold build up I needed to make sure the fridge and filing cabinet were easily movable. So I had to make caster carts for each of them out of some leftover 1/2″ MDF I sealed and painted.


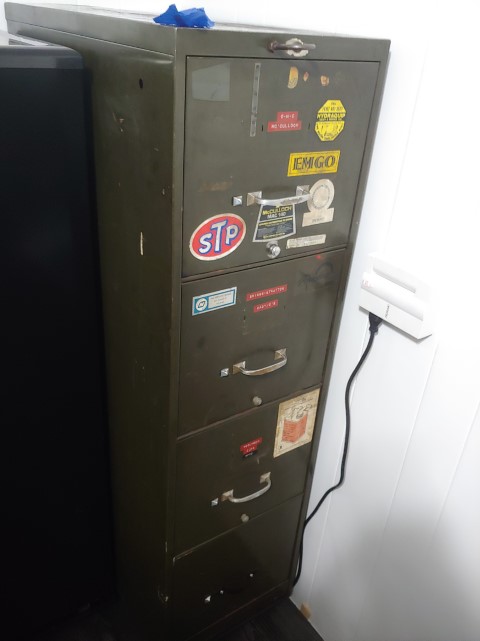
You may be asking why there are so many casters on the filing cabinet cart, it’s because the thing weighs so much. It’s easily over 100lbs empty and once filled with paper would easily top 200lbs and with 8 casters each with a max limit of 80lbs I’m well within the safe zone and with more casters I put less pressure on the vinyl plank flooring with only about 25lbs per caster.
I had originally intended to reuse my old wall mounted desk from my last place since I have quite a few fond memories of it, I’ll include an album of it below as well. In the end though I decided to go with a new sheet of plywood and make a new desk and reuse my old desk as shelving of some sort.
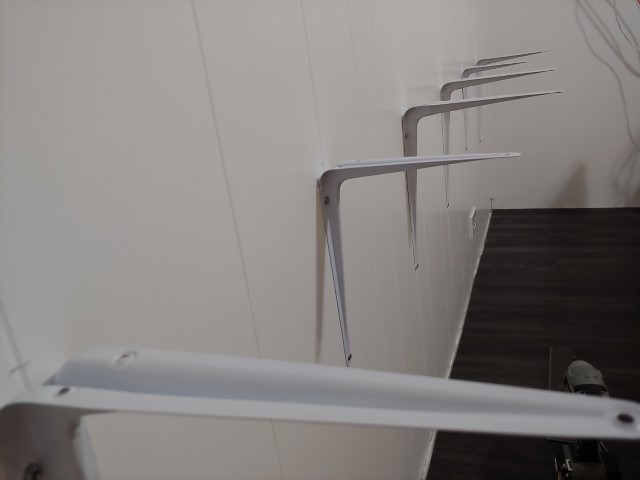

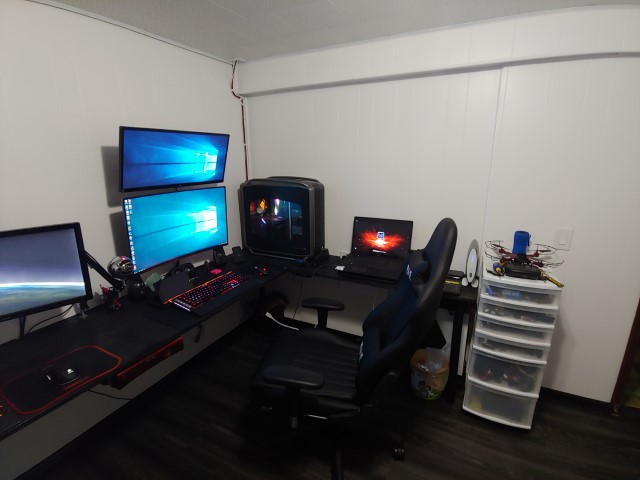
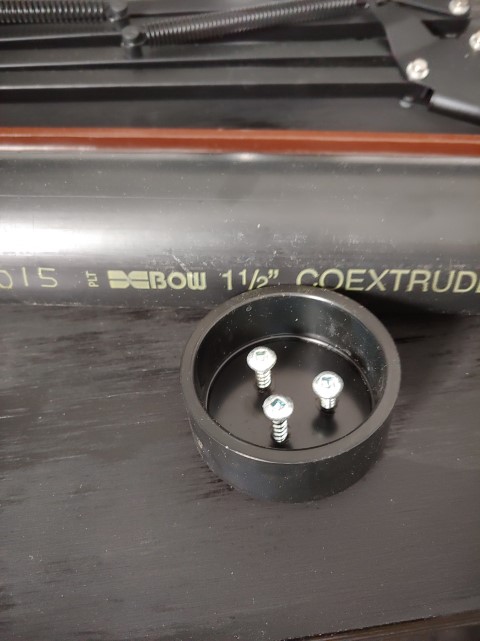
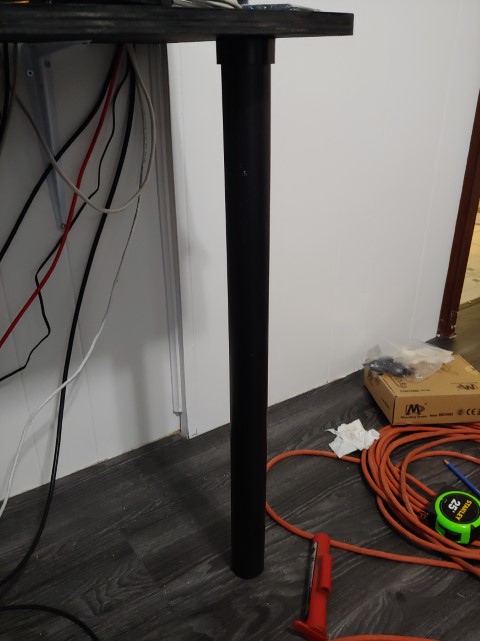
Once I got the desk dimensions sorted out I mounted the monitors and stained the desk with simple satin black 1 step Varathane. I used some 1 1/2″ abs pipe and end caps to use as support legs because even if I got the heavy duty 500lbs rated brackets, due to the depth of the desk over time the edge would eventually warp.


June 12, 2019
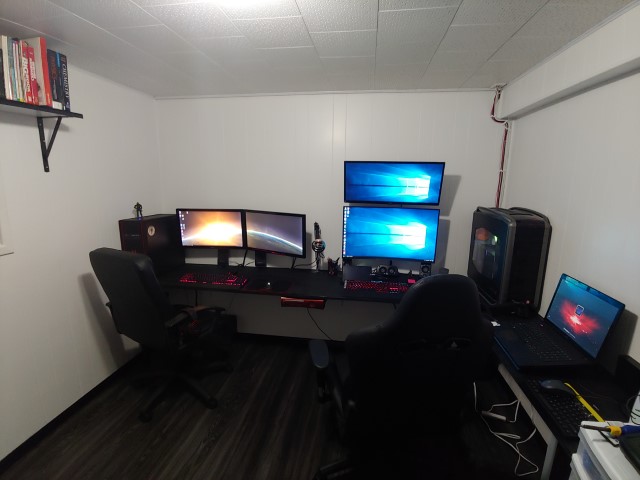
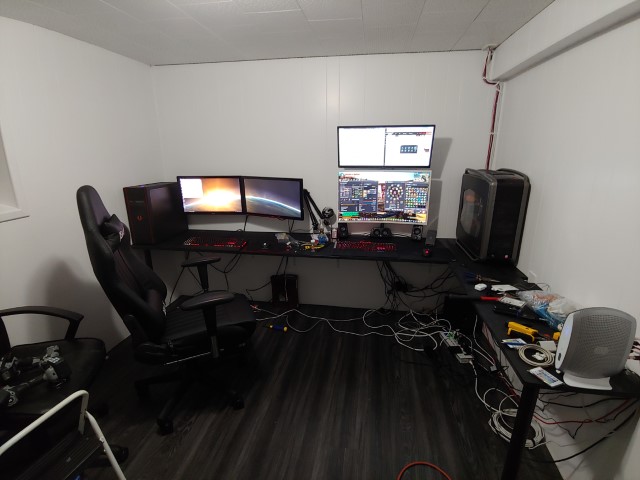
So I got all the wiring up and it looks much better. This is how the setup will stay for the next little while.