2011 Ford Ranger
In July of 2020 my mother and I jointly acquired a 2011 Ford Ranger XLT. How we came across this truck is I happened to be helping a customer at work who had mentioned that he had a pickup truck for sale that happened to fit the bill; 4×4, extended cab, V6, and not absolutely massive like all the new trucks of today. We had actually been looking for a truck that fit the bill for quite a while and when this came up I literally drove to the guy’s place and had a look at it.
Here it was sitting on a fairly busy stretch of road.
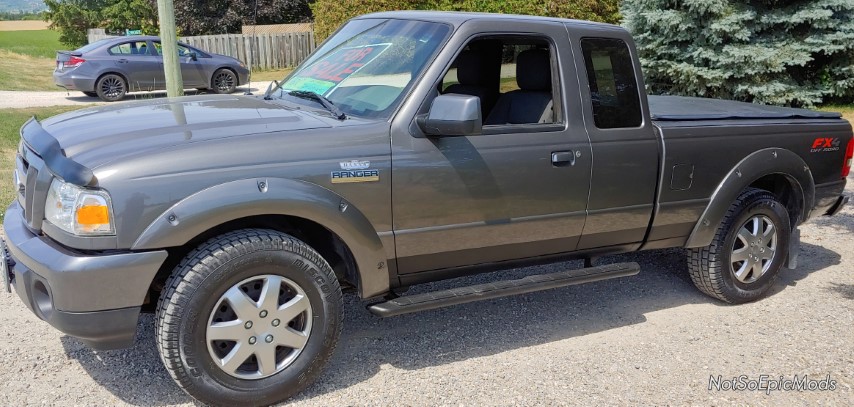
It was obviously dressed up to sell and I don’t blame the guy either but he was straight forward about everything and I had a chance to look at it and test drive it after work that day. We made the deal (as is) and the guy delivered it to our place which was less than a 2km drive.
The truck had 234k km on it when we got it and it needed some work to get it to pass safety and some general maintenance. List of things that need to be done right off the bat is oil change, left front marker lens replacement, blower motor resistor.
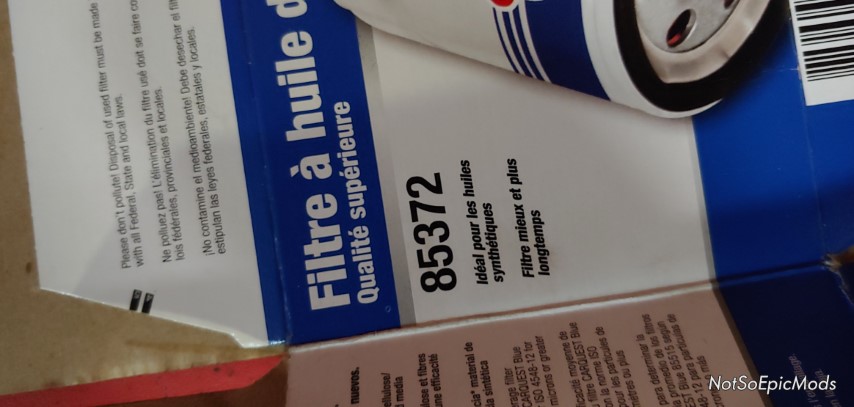
Obviously I picked up all the parts at work hence the Carquest oil filter.

Also decided to throw in some cooling system treatment since the coolant was a little low anyways.


Well I guess that should be taken care of also haha.
That’s a little better.

Here’s the damaged marker lens luckily it didn’t cost much for a new one.


Have to take the headlight out to remove this side marker. Pretty simple since the headlight is only held in with 2 locking bars. I also don’t know why Ford had decided to use 7/32″ head screws but whatever they weren’t seized so it’s all good.

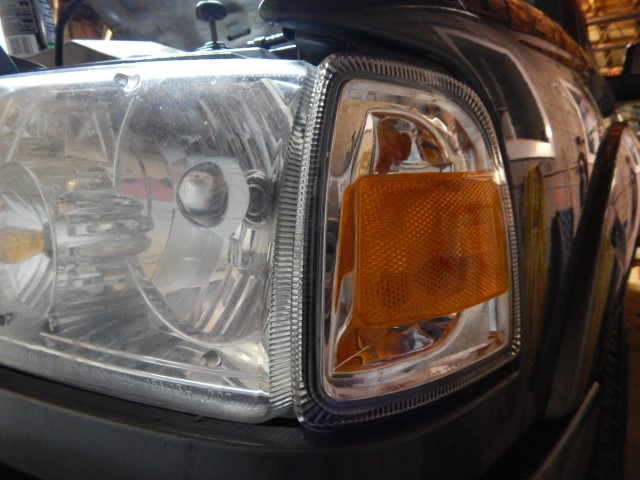
That looks much better. One more thing to check off before passing safety. Next up, blower motor resistor.

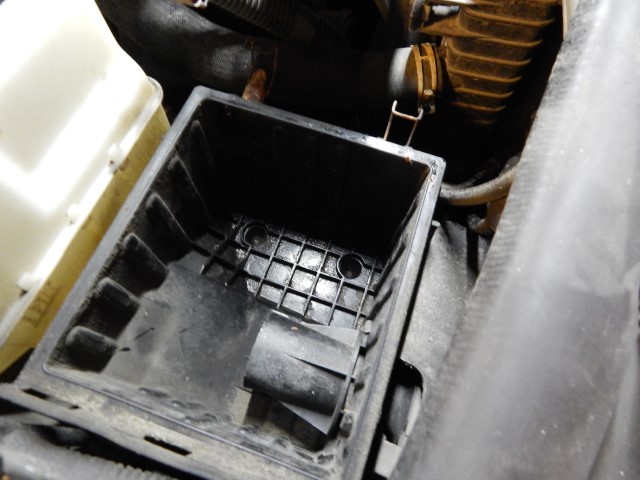
So as some of you might know typically when one or more speeds is no longer working for the air in the car it means that the blower motor resistor has a problem. The blower motor resistor is located on the passenger side of the engine bay, in the picture above you can just barely see the connector poking out.
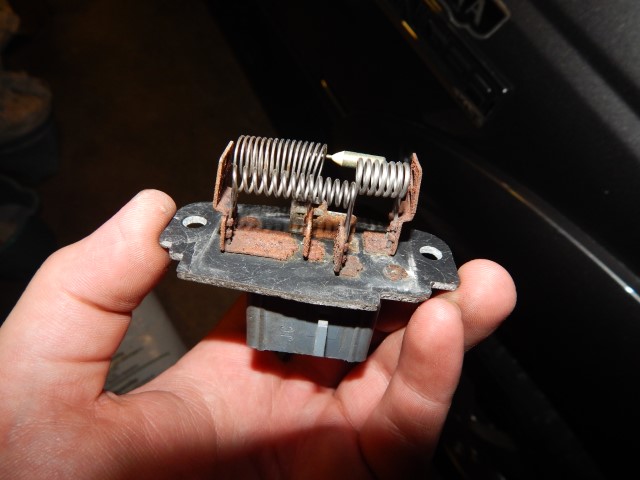

As you can see I was unfortunately not lucky enough to have to only replace the resistor itself but the connector as well. Luckily both parts for the Ranger are relatively cheap and easy to replace.
Next was to tackle the parking brakes. These obviously have to work to pass a safety inspection. It’s also very common to have parking brakes seized on used vehicles when they are sold as is. Having a functioning parking brake is a good thing to have and always use during every day driving anyways especially if you tow a trailer at some point. I set the truck up to get ready to jack up and then applied the parking brake which was a little stiff and well the parking brake didn’t let go. So I went ahead and jacked it up and started tearing it apart.
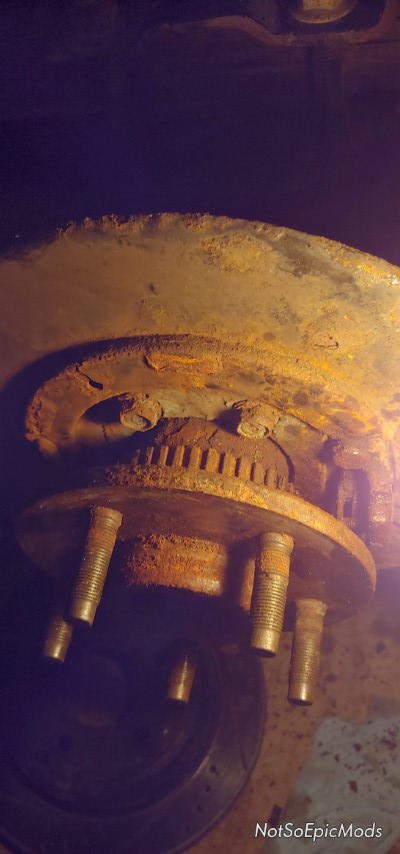

Yea that looks pretty rough. Luckily all the cables were free meaning there was only one culprit for the seized parking brake.
That little bugger pictured above is the activation lever that the cable pulls on to spread the parking shoes apart. It was seized nearly solid.

And back together is goes. I was lucky that I didn’t need to pull the hub out of the axel to do the parking brake hardware. Gee if you look at the picture it still looks old and rusty but I assure you it works.
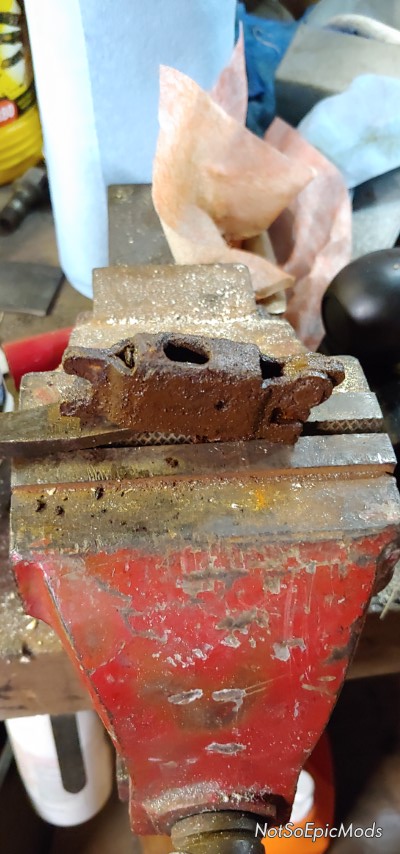
So I thought I had taken pictures of me doing the license plate lights but I guess I was too caught up on trying to remove the stuck hitch receiver which I did take pictures of. The guy I bought it from said he tries getting it out even with an air hammer with no success and wanted to know how I would get it out if I even did. I guess I took that as a challenge and well here’s the proof I got it out and with only 2 tools to boot.

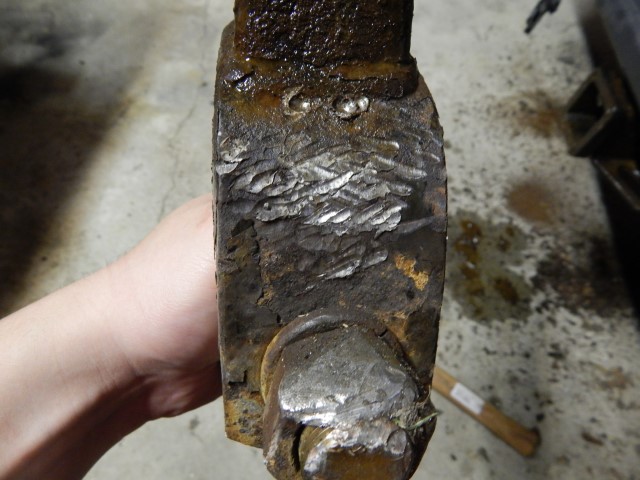
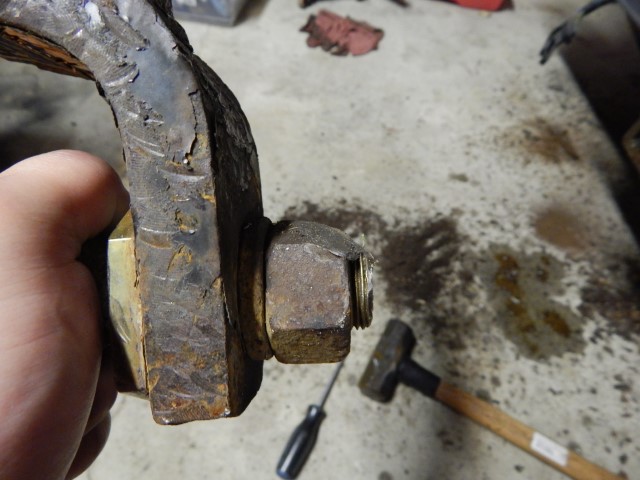
To say I beat the crap out of it with a hammer is probably an understatement. Yes yes, I already hear some of you saying to yourself “why didn’t he just strap that thing to a tree and floor it?”. Well first off, that is very dangerous if the receiver were to fly out and launch itself it could literally kill someone no matter what videos you see on YouTube happen to show. Second, doing something like that has the potential to damage the frame or hitch itself. Also hammering on this thing was actually pretty stress relieving.
So after getting it all safetied, licensed and insured some more things started to crop up that you only start to notice after giving it a good drive. We had definitely put at least 5k on the truck but the time I needed to do any of this. It was also starting to get pretty cold and winter was on its way. First on the list was the right front bearing.
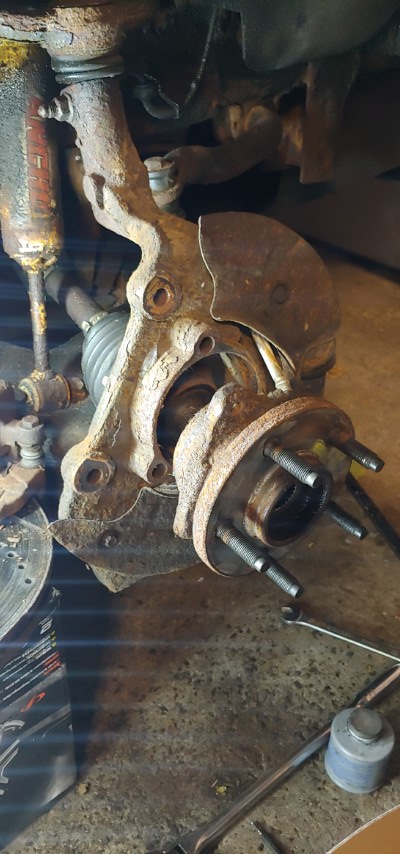
So the bearing was pretty easy to take out I think mainly because it looks like it was replaced before also it’s a bolt in style because the thing is 4×4.
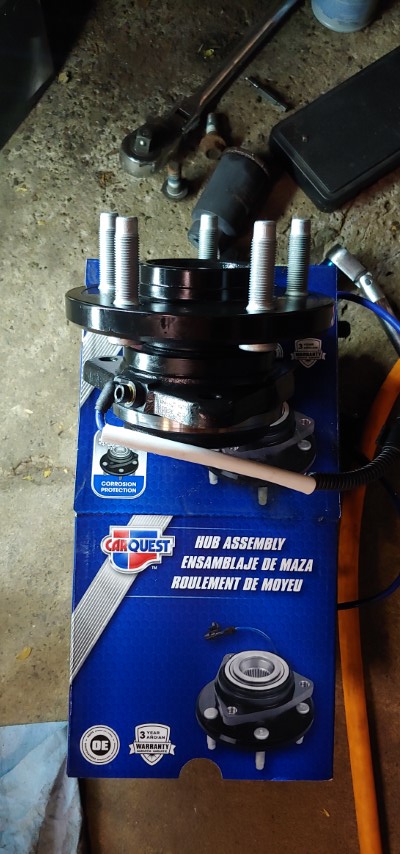
Shameless Carquest plug, I gotta rep who I work for ya know! That being said this is a pretty pricey bearing even with my discount and no I won’t give people discounts that’s not how it works so don’t even ask.
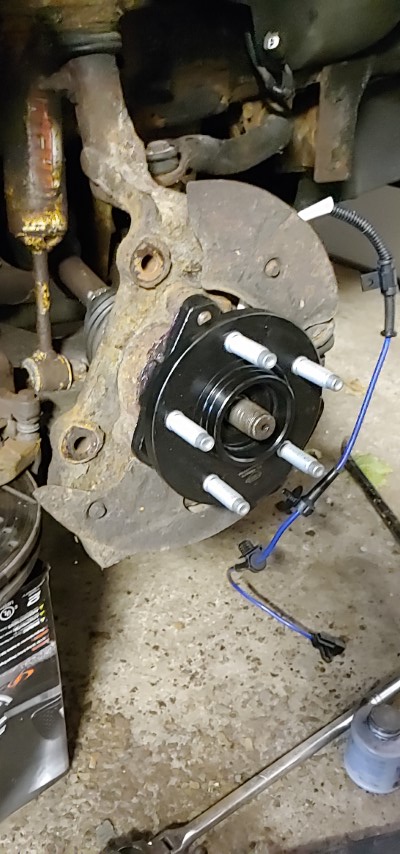

Bearing is in and torqued. The one other thing I wanted to address was the super annoying rattling from the catalytic converter on the passenger side.

Yup that’s it, a single screw in the side of the catalytic converter is all it takes to stop the honeycomb from rattling. Sure it’s not a permanent fix but it’s also just a $0.02 fix.
Well after those fixes the truck was running fine for a good while, winter came and everything was right in the world…. until it wasn’t. After pulling into work after lunch I noticed the truck was making a bit of whining sound. Naturally I thought power steering must have been a little low. It was low alright so low it was on the pavement. Ugh so I finished my shift at work and bought a bottle of ATF and topped it up to race home.

Well yea it’s leaking. I knew the lines on the truck were getting pretty ripe but I was really hoping to be able to at least get to spring with the lines because it’s freaking cold here in Canada during the winter in an uninsulated garage.

The lines were rusted in so bad I had to cut them out.

I decided to take the entire power steering pump out to make it easier to replace the high pressure line on it.
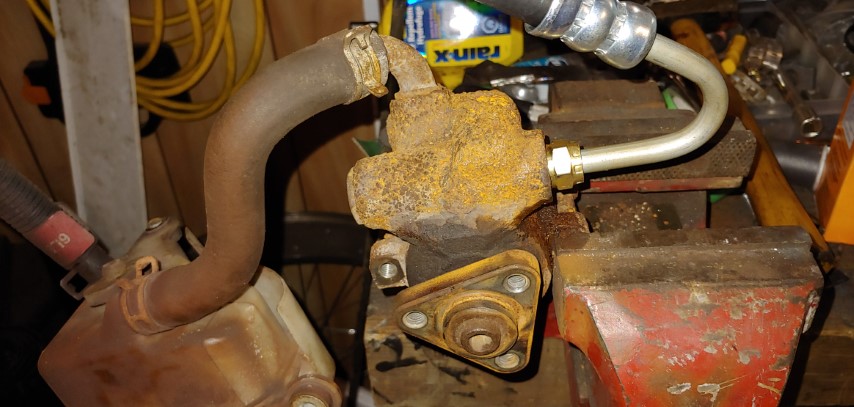
With the new line on the pump it was time to take the old rack out and what a bugger that was but it came out.

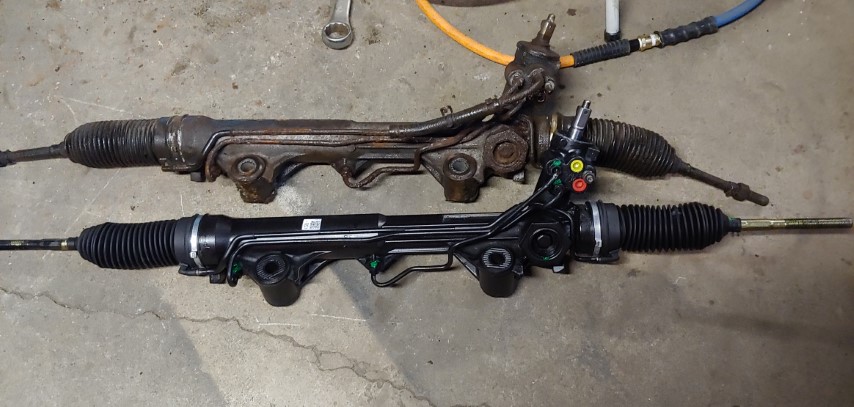
Also look as what a difference between the new and old racks.
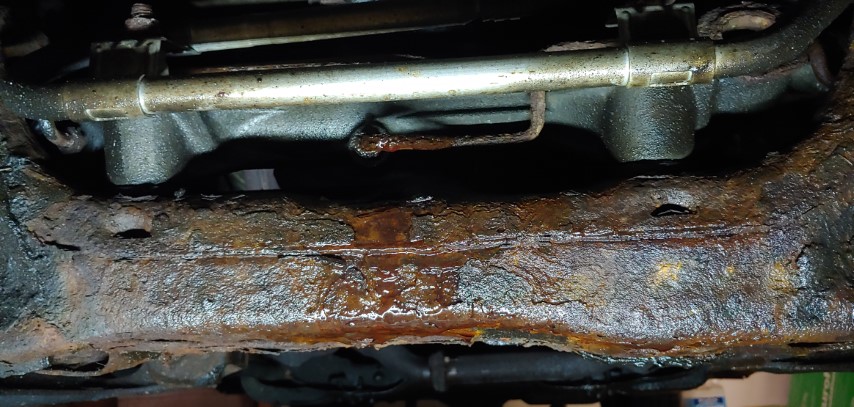
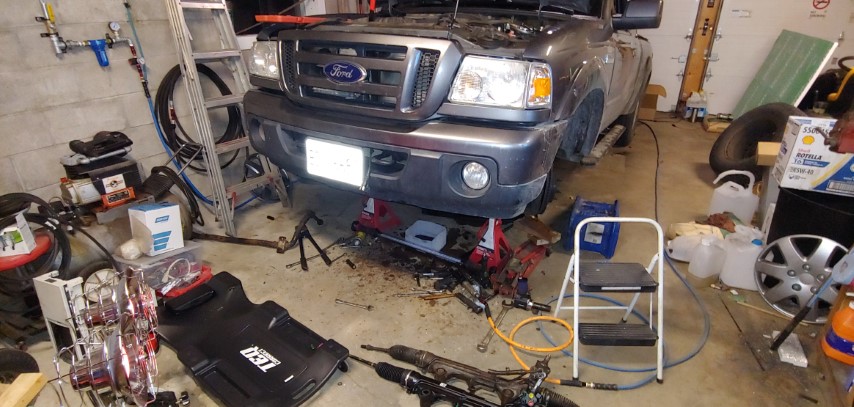
Here’s the disastrous mess I was dealing with after taking all the parts out.
Here’s an example of how the old rack came out but it’s just the new one going in. It was actually harder to get the old rack out probably due to corrosion.
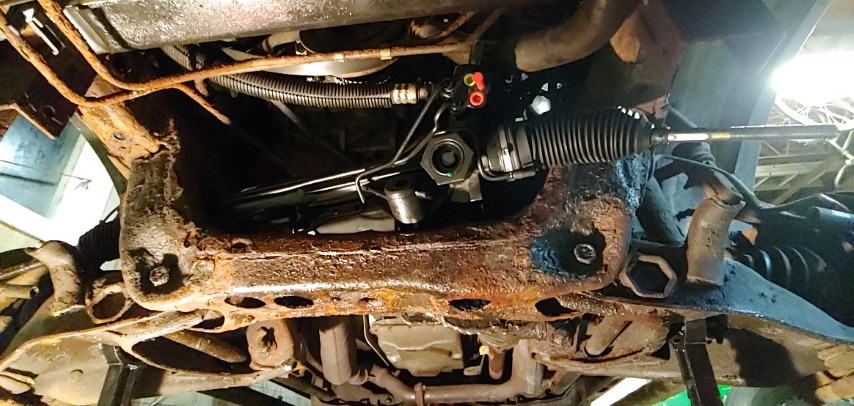
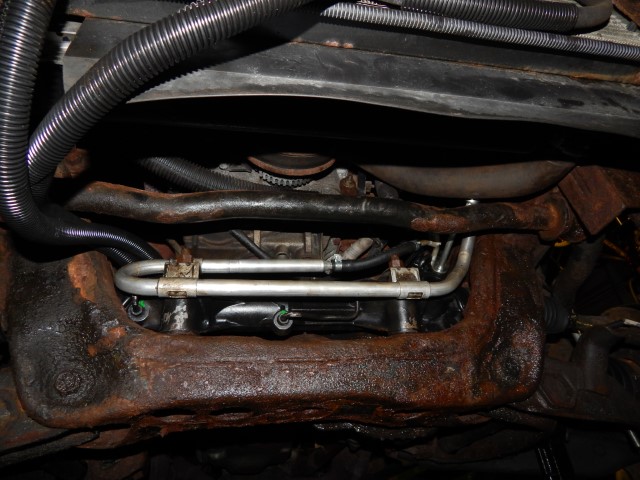
The new rack is in. At this point I decided to also replace the transmission cooler lines since if the power steering lines were going the trans cooler lines wouldn’t be too far behind. I had to cut the lines so far back I had to splice in some copper line so that the rubber hose I was going to use wouldn’t be too close to the catalytic converter.
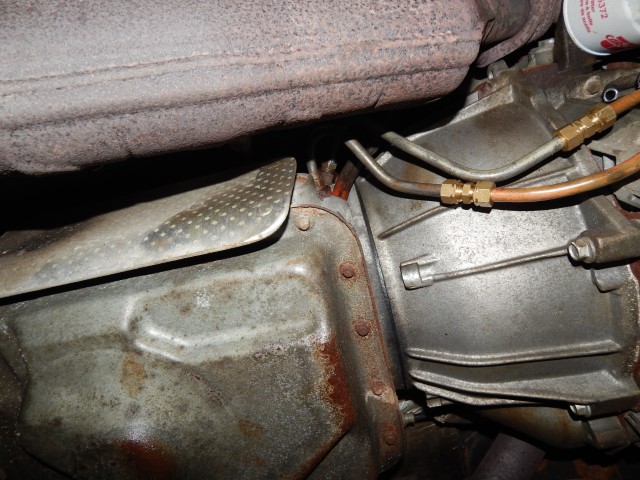
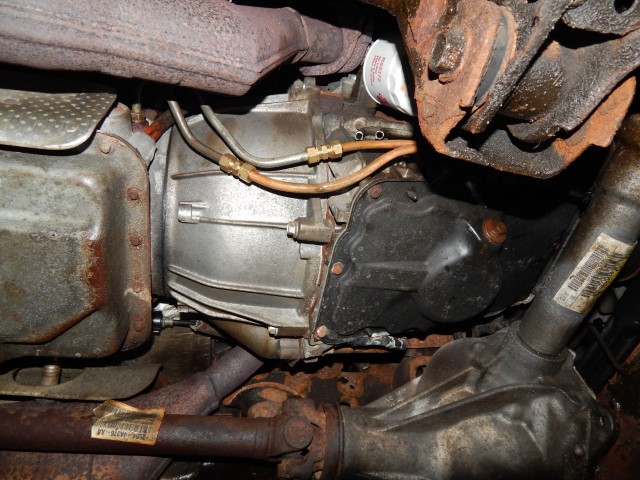
So I originally intended to use a repair kit to be able to plumb right back into the OEM trans cooler in the rad and well first the fittings didn’t want to come out. Then once I got one of the fittings out I find the repair kit is the wrong threading. At that point I decided to run an aftermarket aux cooler that sits in front of the rad kind of like the OEM one this truck has. I also needed to replace the front sway bar links.


Well the aux cooler was pretty easy and straight forward to install. So there I was in the home stretch all I had to do was run new rubber lines and I was done or so I thought. Turns out the OEM aux cooler wasn’t in the best shape either and while I was trying to remove the old rubber lines on the barbed fittings on it one of the barbs snapped off. So at that point I was pretty frustrated and was contemplating just using the one cooler since it was an oversized cooler so I could get it done. I then thought that we might actually be hauling up a lot of stuff to Manitoulin Island and towing a trailer at that too. So I decided to get another aux cooler and that way there should be absolutely no way this transmission should overheat.

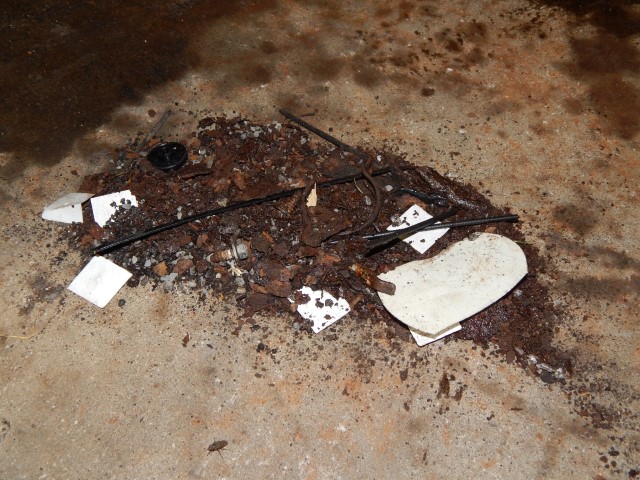
Wow what a journey, all in all I think it took me a week working every day after work to get this rack replaced and new trans lines in but it’s done. Everything works beautifully and all that is needed is to get an alignment done by my local garage so I don’t burn through my tires. Oh, and if you were wondering here’s a picture of all the rust and junk I had to clean up afterwards. Cheers!