
Mods: 9th Gen Civic Sedan
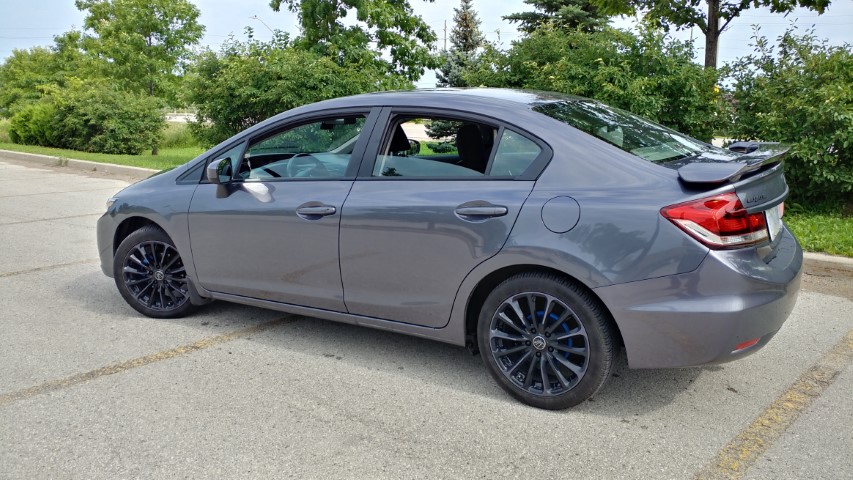
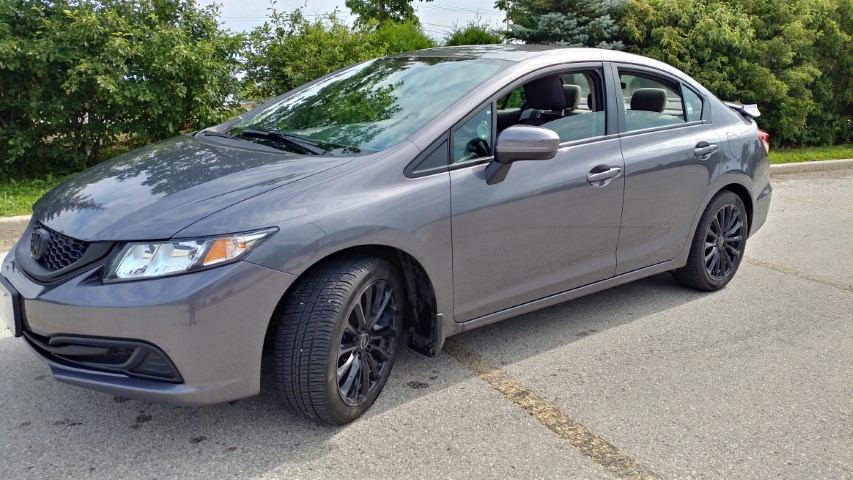
This is my personal everyday car a 2015 Honda Civic LX driven brand new off the lot in November 2015 and I had never planned to do any sort of modifications and as plans always are they do end up changing. I also never planned on keeping tabs on what I had been doing but I have been getting suggestions from people that I probably should so here we are.
Update #1
First up is a gallery of some of my older modifications before I even had any thought of keeping track of them. Below is a list of what was done in order but pictures are not.
- Carbon wrap exterior chrome on vehicle
- Carbon wrap steering wheel trim and radio
- Install high intensity LED strips for trunk lighting
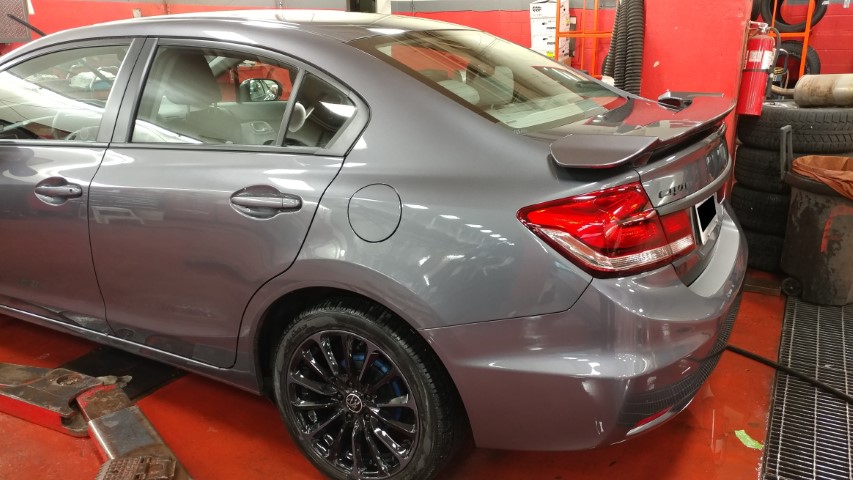
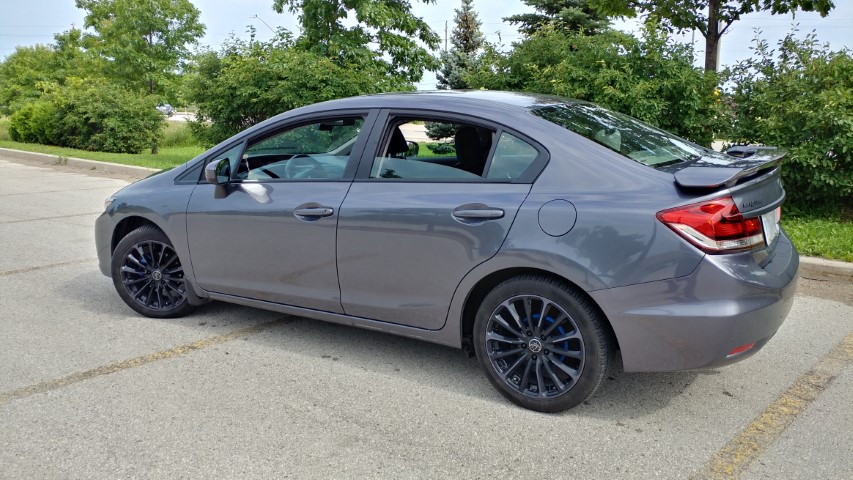
- Purchase RTX Poison Rims and Motomaster AW/H wheels and tires
- Paint Front Calipers and Rear Drums to Metallic Blue
- Purchase and Install Low-Beam HID Kit
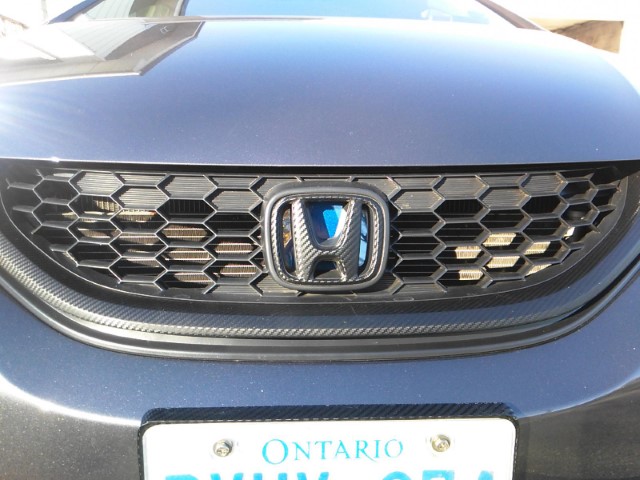
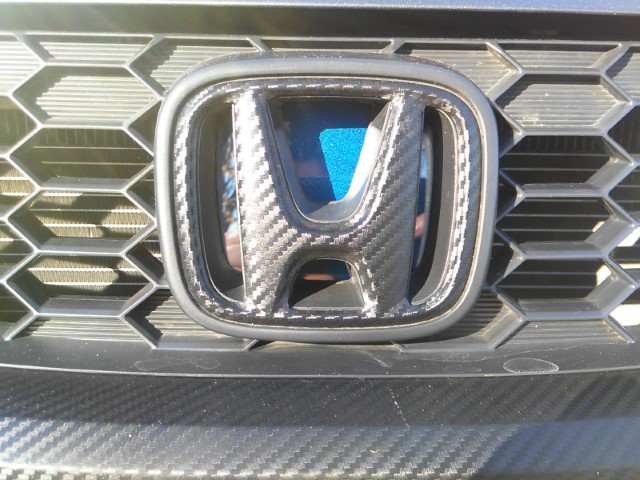
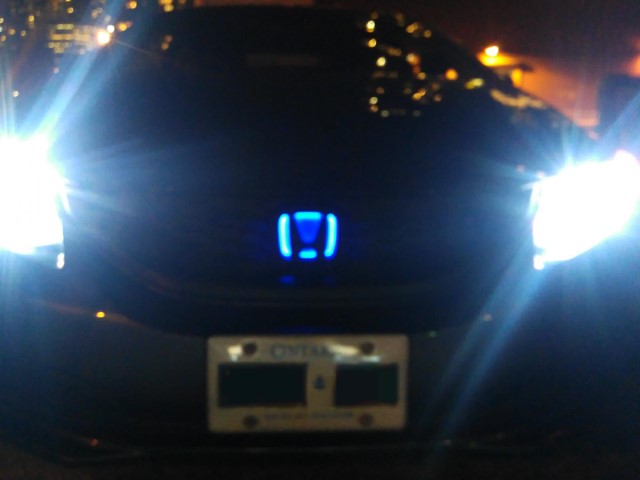
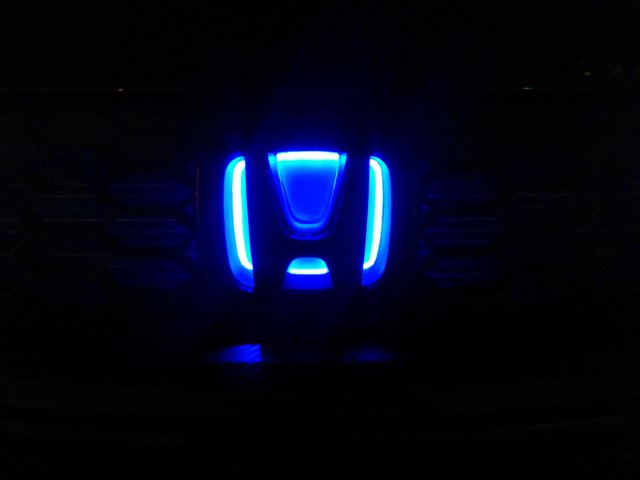
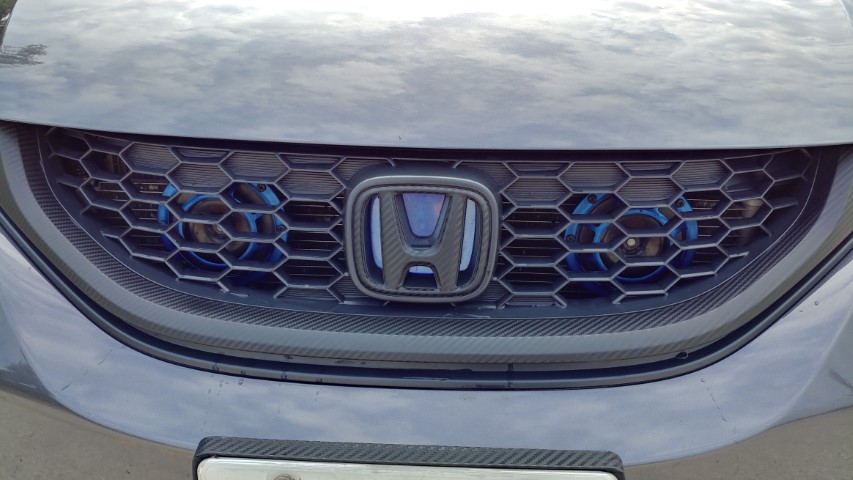
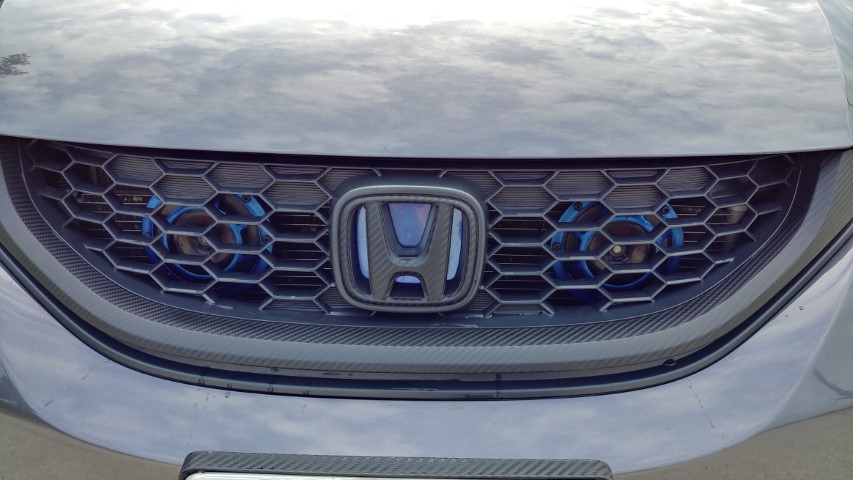
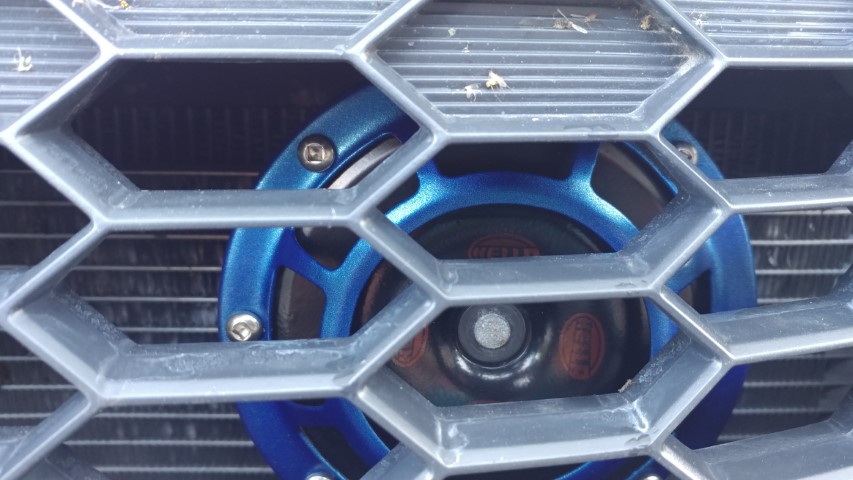
- Redo front grill trim carbon wrap and make custom blue backed blue glow H logo, Work posted on 9th Gen Forums Here
- Carbon Wrap rims in two tone pattern
- Remove Carbon Wrap on rims and custom paint to Modern Steel Metallic/Gloss Black
- Purchase and install OEM style spoiler
- Purchase and install amp and low profile under seat sub
- Install trunk gas support and custom hinge bracket to prevent trunk slamming shut from additional weight of spoiler
- Repaint and Install Hella horns, custom brackets and wiring harness made from scratch
Posted on 9thgencivic.com:
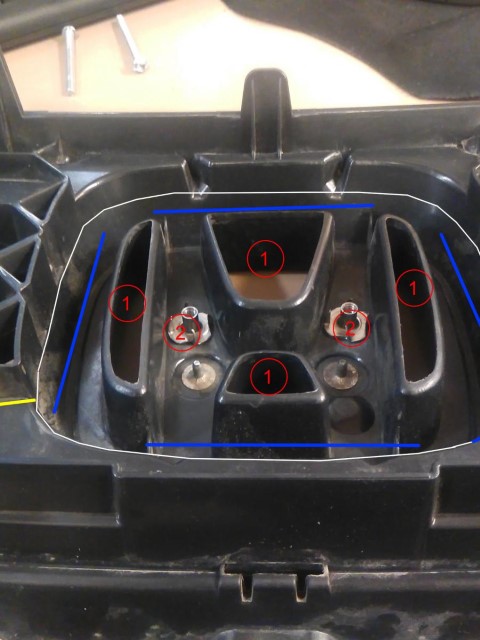
Well I did happen to come across a pic I had of the backside of the emblem while I was doing it but it’s the only pic I got. I can kinda explain what to do with it, not a true DIY unfortunately.
1. Obviously with the grill off the car carefully cut out the areas indicated with a 1 in the picture using a rotary tool and fine point grinding inserts.
2. Using #8 T-nuts(stainless steel recommended) indicated with a 2 in the picture. Epoxy them into the place shown in the picture. This will allow you to bolt your polycarbonate to the back of the H and remove it/change it if needed.
3. Cut out 2 or 3 sheet’s of 1/8th polycarbonate so that they will fit into the area indicated by the white line in the picture. Test fitment and drill holes for #8 bolts(stainless steel recommended) to screw into the T-nuts. Cut bolts to length you need which will depend on how many sheets of poly you use. Once done and fitted use Permatex clear RTV silicone or equivalent to seal the edges and bolt holes of the poly sheets together. This prevents moisture and dirt getting between the sheets, alternatively you can use a single thicker piece of poly(more expensive).
3.5. Paint one side of your poly sheets the color you want leaving the other side of the sheets clear and unpainted. I used a good 8 coats of metallic spray paint to help prevent light bleeding to the condenser. If you want more of a glow in the grill area you’ll have to experiment with how many coats to put.
4. Stick your LED strip(s) of the color you pick to the areas indicated with a blue line and run the wires out where the yellow line is.
5. Screw down the poly sheets to the back covering the LED strips. Make sure the painted side of the poly sheets faces the engine bay when the grill is installed. Also I would recommend using a very small amount of the RTV silicone on the screw/bolt heads to prevent them from backing off with vibrations. It is optional to use some electrical tape to go around the edges of the poly to help with light bleed.
6. Reinstall your grill and wire the LEDs how you want or in my case to the fuse for the marker lights.


Update #2
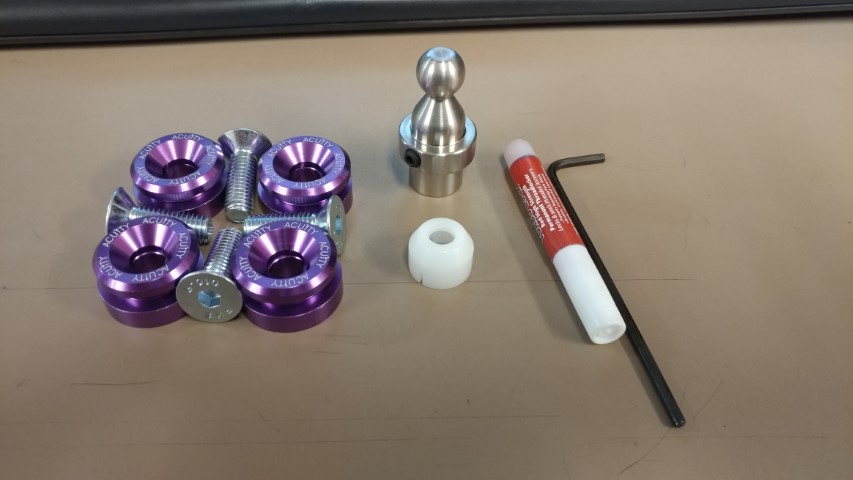
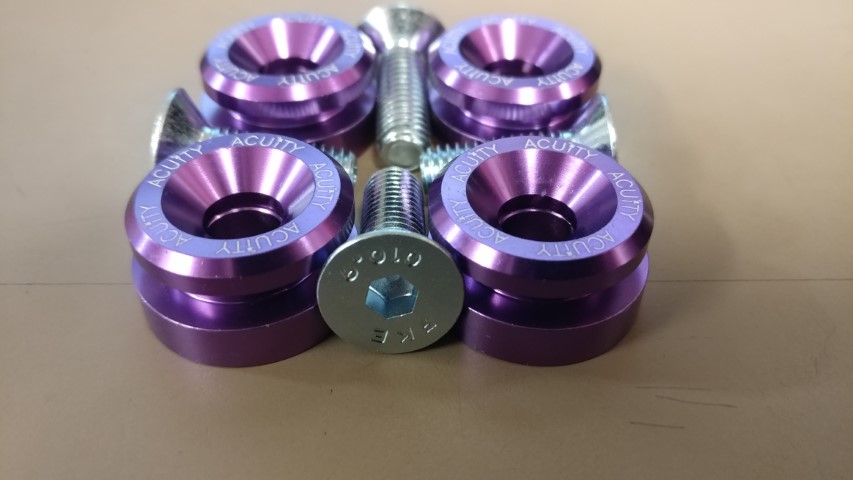
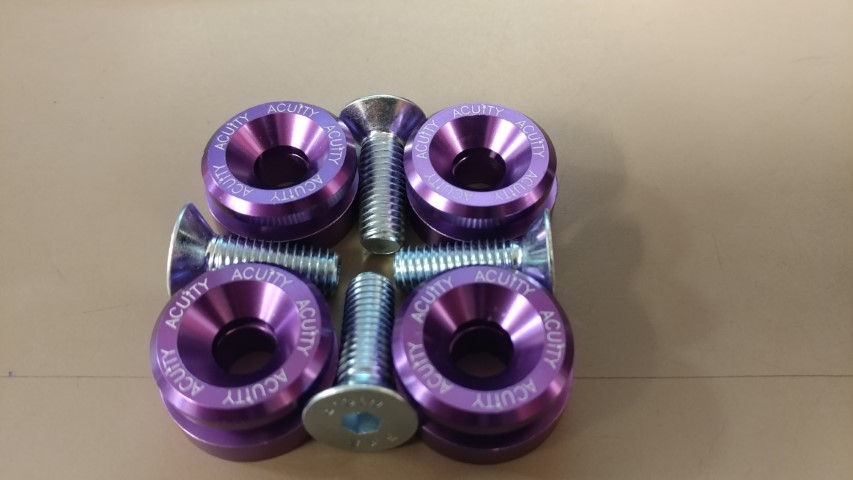
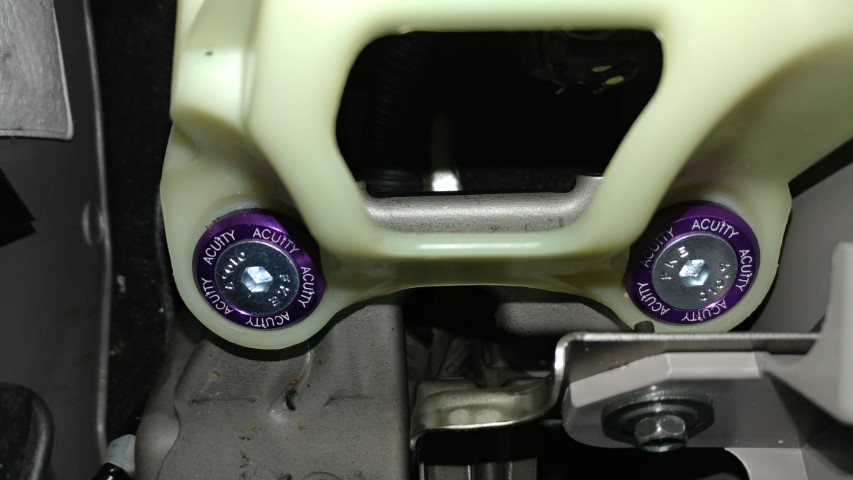
After all of that I did probably the closest thing to any sort of performance upgrade which was a shifter bushing kit by Acuity and short throw adapter from ProCivic by SiriMoto. This upgrade really takes a lot of the squishy feeling out of the shifter and makes for a much nicer firm feeling shift.
Update #3
During a vacation in the Philippines I managed to find a place that sold hand made custom leatherette seat covers which aren’t perfect by any means but are by far better than those crappy fabric seat covers. And yes I checked the stitching on the new seat covers and it’s done in a different manner on the sides for the airbags in the seats.


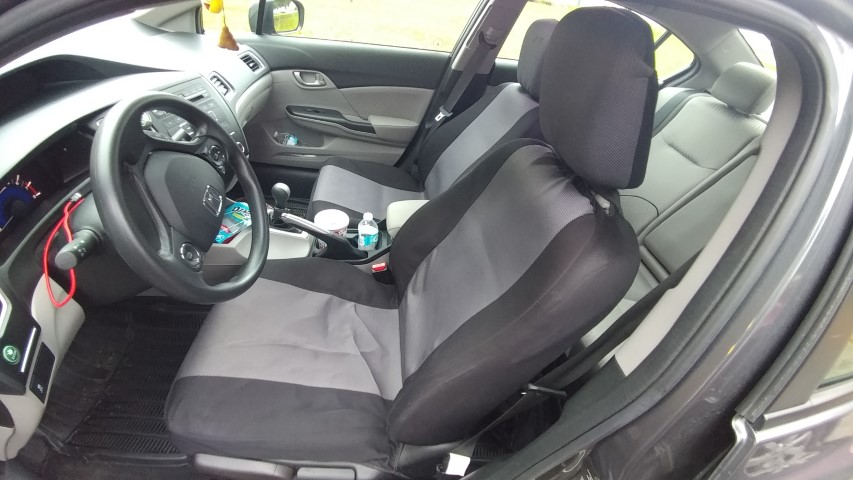
After


Update #4
Next I spent a good 8 hours trying my best to neatly rout wiring and install some ambient interior lighting as well as pre-install my fog light switch. Unfortunately I don’t have any in progress shots but I do have the after pics.
Place Holder Place Holder
Update #5
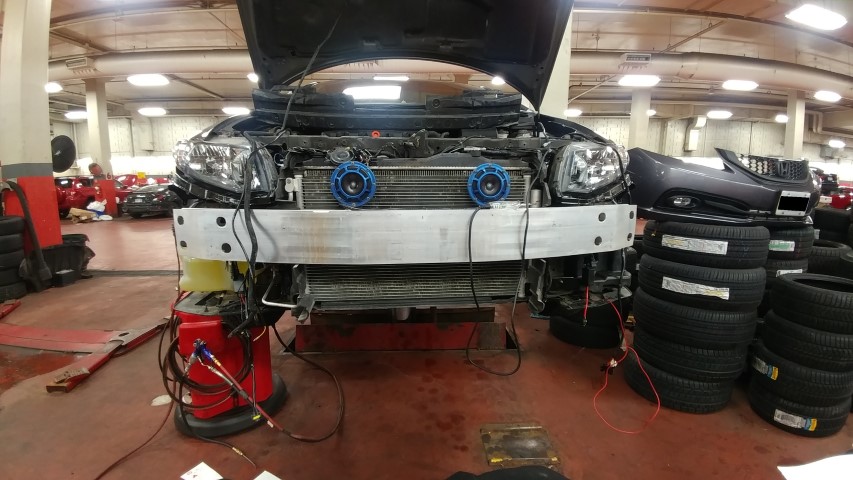
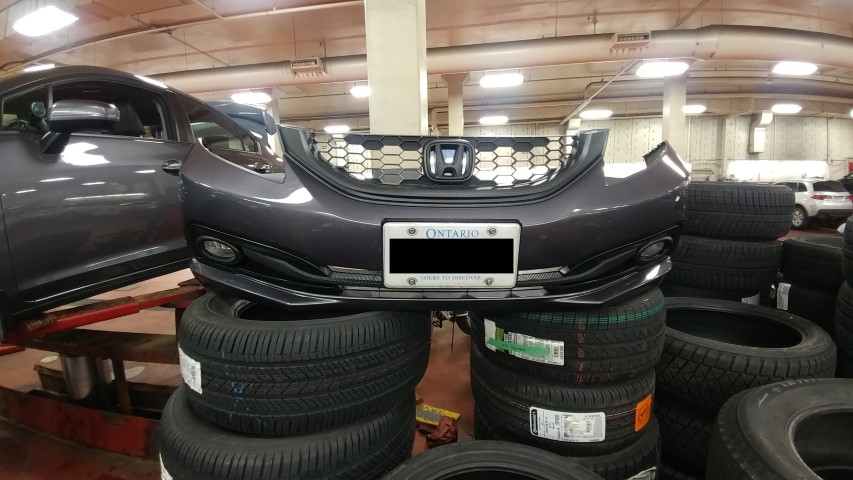
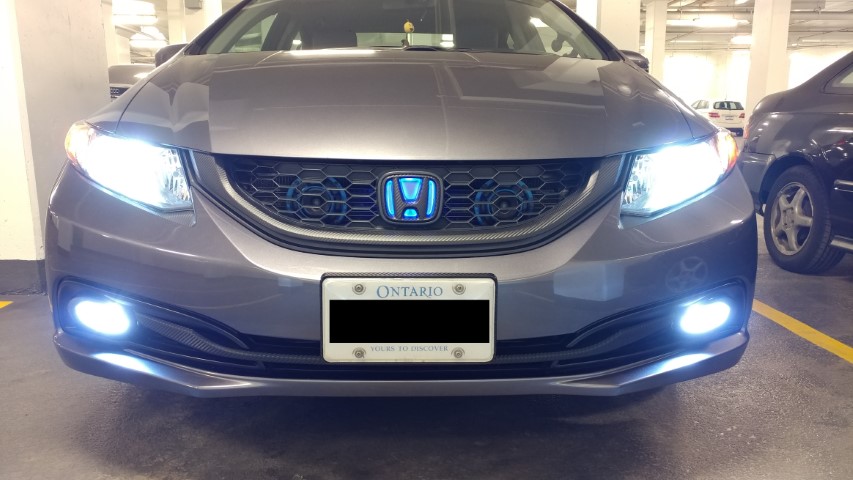
Up next I would be purchasing a fog light and wiring kit from MB Auto & Truck Accessories on Amazon. This would be one of my more time consuming projects as I repainted the gloss black fog light bezels to a satin black and carbon wrapped the accents. I also had to remove the entire bumper and I would redo and improve the lighting on the glowing H logo. I also undercoated more of the steel behind the bumper since this vehicle is year round in the summer and winter.


Update #6
So after spending all that time installing those fogs I took a bit of a break and of course as I do work in an auto shop I came across a brilliant idea. With all these newer and newer cars coming into the shop many of them are getting OEM factory in dash screens but sadly I didn’t want a car that was automatic and being honest I couldn’t afford an SI. I really wanted to at least replace my really ugly phone holder and I did have an 8″ 4G tablet I could use.
First thing was figuring out a way to attach the tablet in a nice viewing position like OEM positions and without damaging the dash if I ever did happen to decide to sell the car in the future. I first tried getting a tablet/phone mount that went into the CD slot since I don’t use that but it wasn’t quite up to the task. Next I thought I could build a bracket that not only slotted into the CD player but also sit on top of the flat part of the dash above the radio with some non slip silicone. After bending and building a prototype of the bracket I found out that a lot of silicone pads you can buy are meant for temporary use and were not supposed to sit on plastic parts like a dash for extended periods of time and can actually end up fusing with the dash in very hot temperatures.
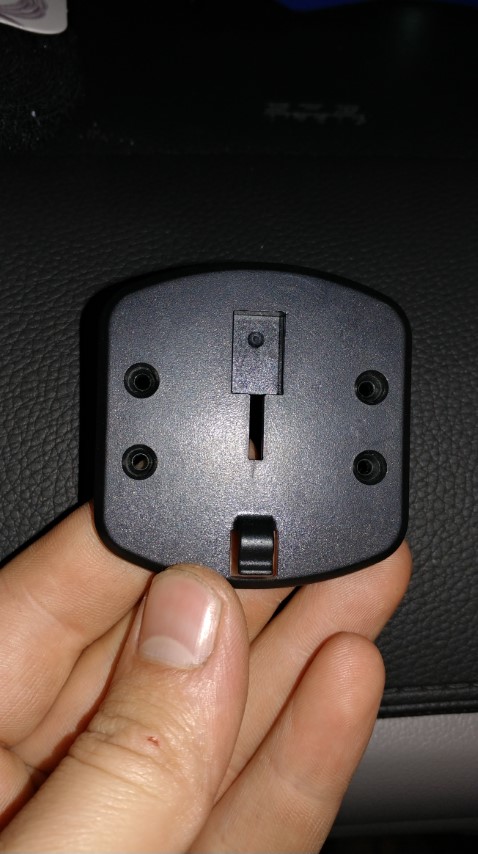
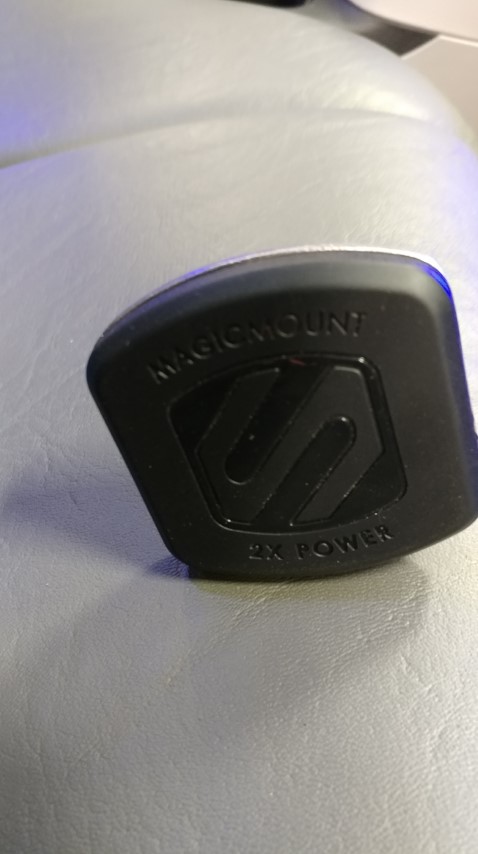
Feeling defeated I decided to go ahead and work on the tablet side of the mount since I was determined to get this project under way. I went to the retail floor of where I worked and browsed what phone/tablet mounts we carried. I decided to purchase a mount made for tablets from Scosche since I could disassemble the magnetic mount surface easily and screw it to my bracket. I was still stumped on how to get my mount to stay secured enough to hold itself and my tablet. Then I finally came up with an idea that just might work. If Scosche could design and build a magnetic mount that could hold my tablet why couldn’t I build something similar to hold the bracket for the tablet?
With that idea I browsed amazon for some magnets and I settled with these neodymium magnets. They were the perfect size and were thin enough that if I needed to I could slip them into a tight spot under the dash.
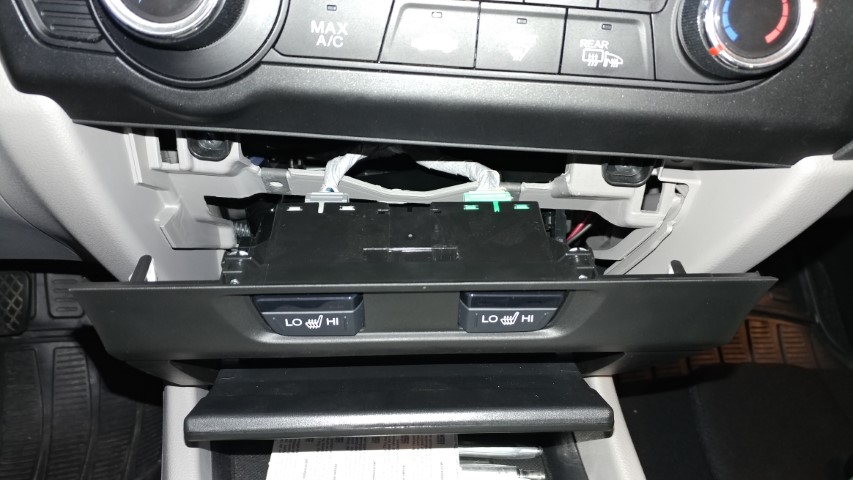
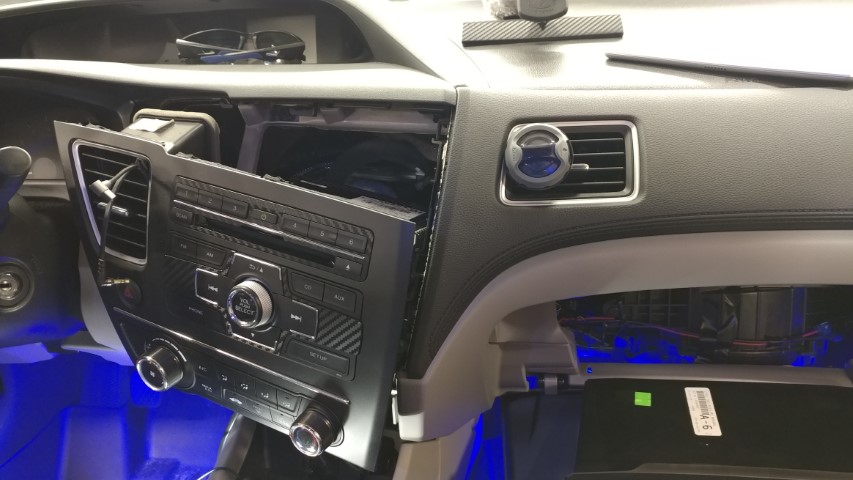
Next I had to make sure I could actually put them under the dash which mean tearing out the radio which requires pulling out the compartment under the radio and removing 2 screws in front and 2 bolts behind the dash then pulling on the radio assembly gently enough to release the clips.
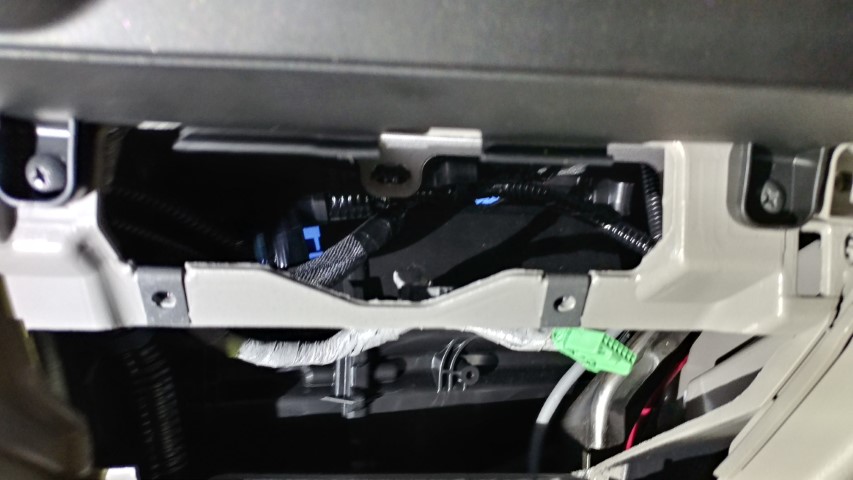


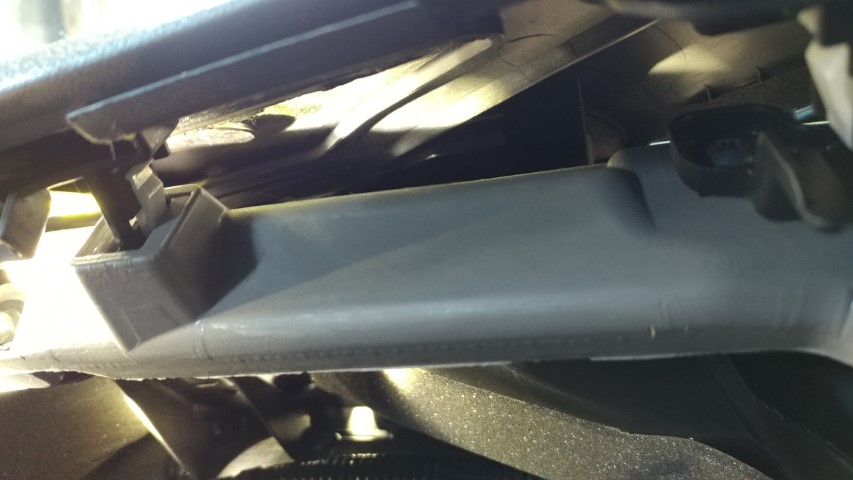
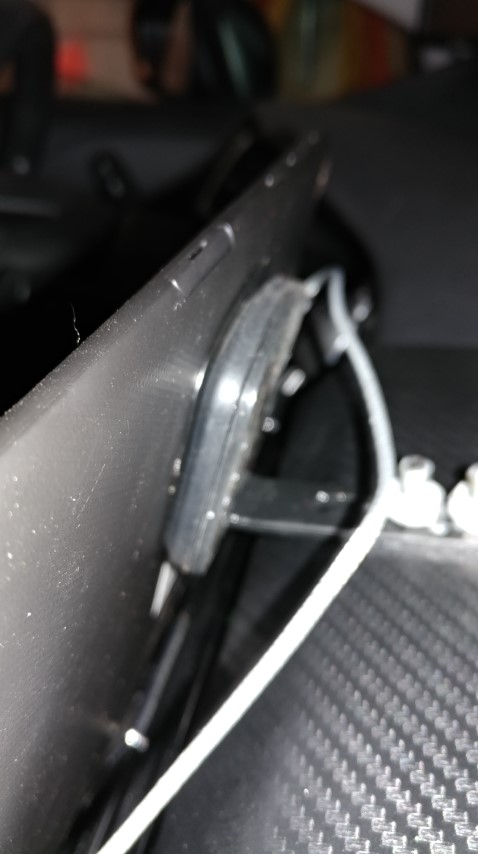
Once I got the radio out I got a better idea of what I was working with. I needed to secure the mount I was planning to the flat portion of the dash. I oriented 6 magnets(3 above and 3 under) into a triangle pattern to best secure the mount that would sit on top of the dash. The magnets under the dash were epoxied in place to prevent them from moving when the mount is removed.


After I got the magnet situation figured out I went ahead and began building the actual mount out of some sheet metal unfortunately I don’t have any gas for my welder so there’s some splatter on my tack welds which I cleaned up. I added an adjustable tablet side of the mount allowing for larger and smaller tablets if needed in the future. Then I primed and painted the parts to prevent them from rusting.


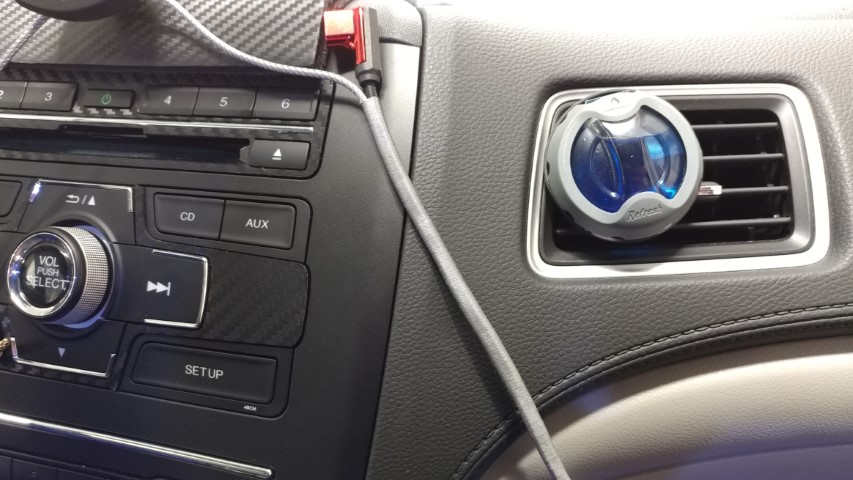
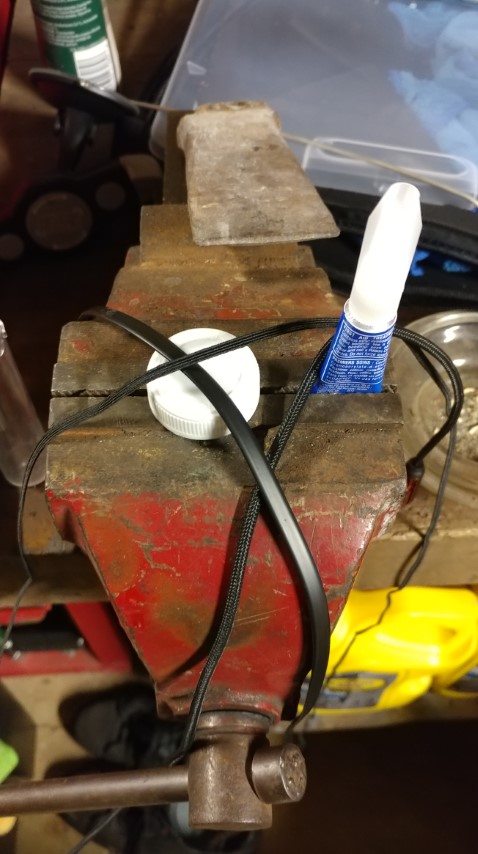
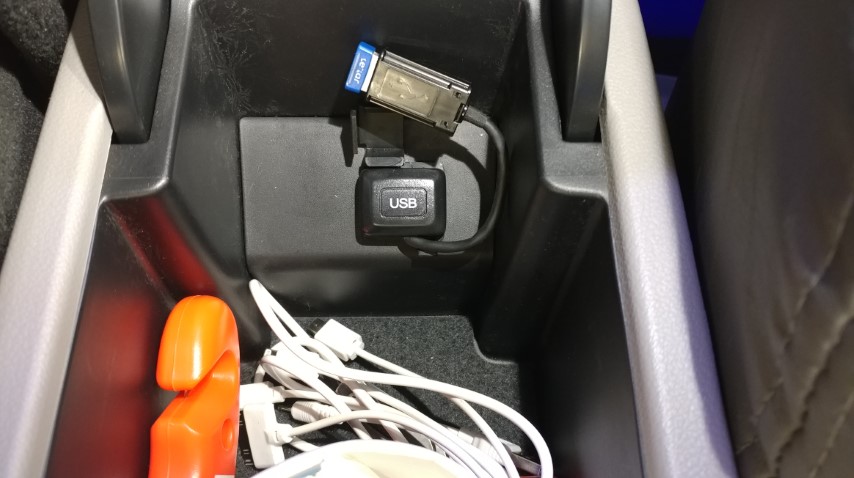
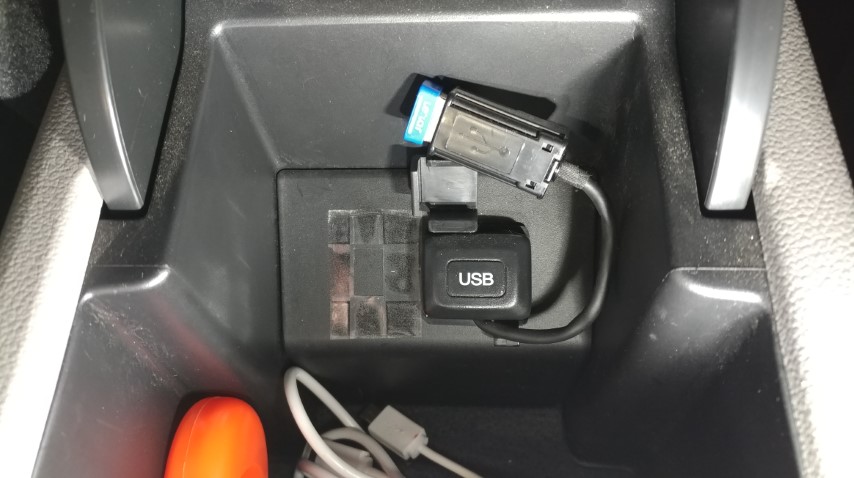
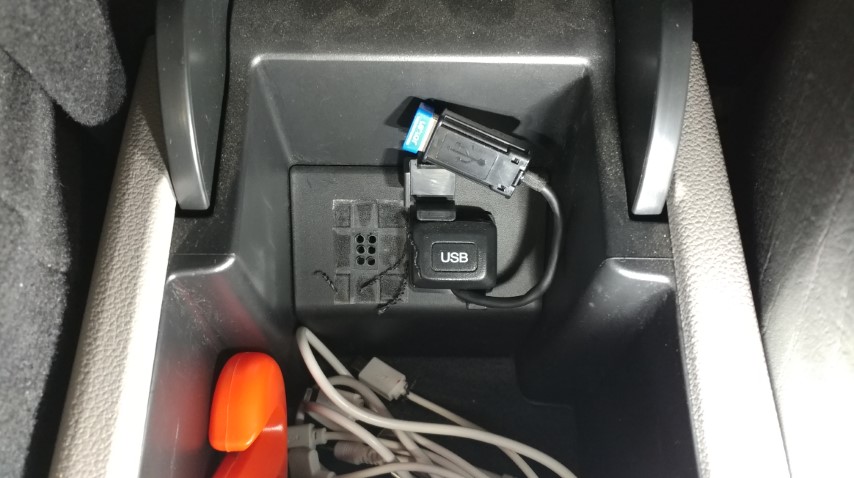
After I got the tablet mount fitted I added some soft material cut from an amazon basics laptop sleeve and cut holes for the 3 magnets then contact glued the material to the bottom of the mount. I also didn’t like the outcome of the paint job and decided to carbon wrap the base of the mount. I also ran wiring from my charging and aux port in the center console behind the dash and out the glove box for the tablet. I also wrapped the 2 cables with light grey thread to keep them neater looking. Then it’s just some real world testing to see how the design fairs.

Update #7
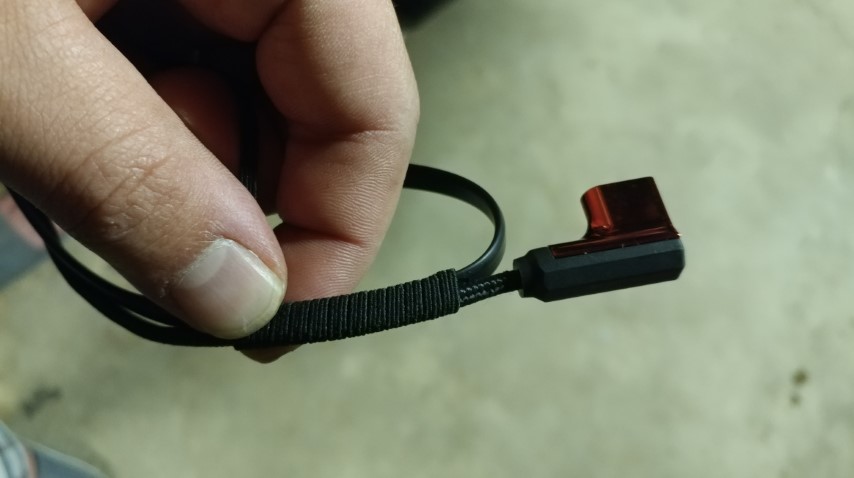
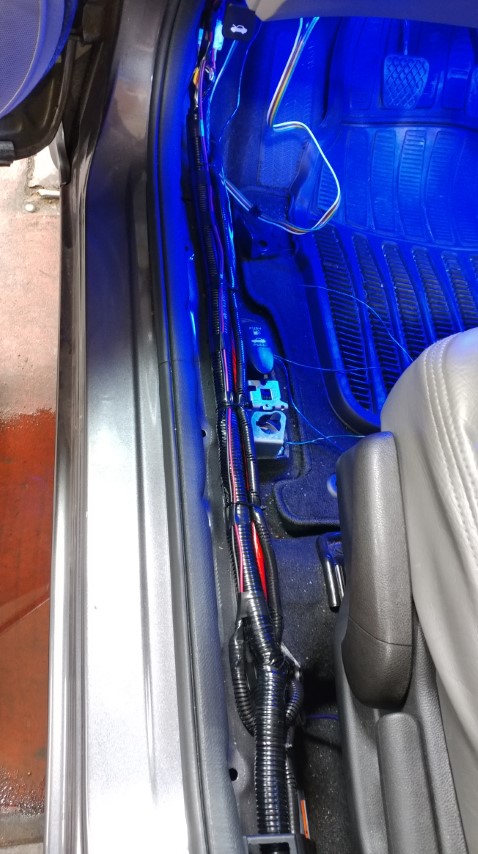
The good news is that the tablet mount works amazingly. Doesn’t move or shift and I can even use the buttons on the tablet without worrying about it falling or moving. One thing that annoyed and concerned me was that the charging and aux cords I wrapped was very stiff and hard to put away in the glove box and pull back out without it getting a bunch of kinks in it and the aux cord was also really short and just barely reached the aux port. So I purchased a much longer and better quality aux cable and rewrapped in a thin flexible band. I also began running the bigger amp wiring for my new amp and sub install in the near future to replace my current underwhelming setup.
Update #8
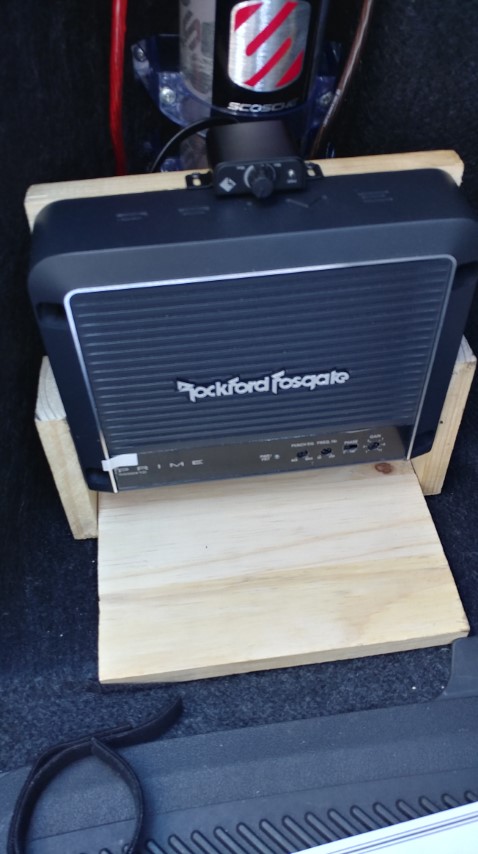
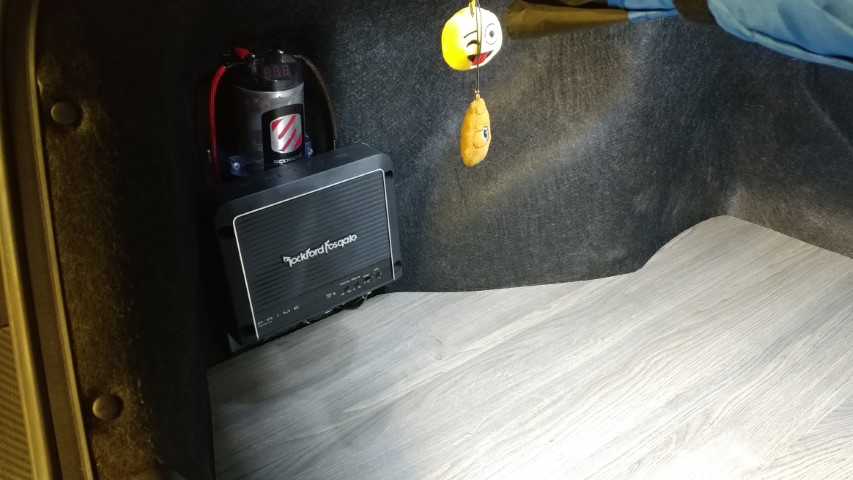
So on the weekend I ended up finally getting around to making my new amp bracket. Not sure if I mentioned before but I had 1x 8″ Pioneer slim sub under the driver’s seat powered by a Pioneer amp. The setup was ok but I wasn’t quite happy with the performance. It definitely added much needed bass but the amp I had lacked some basic features because it was one of Pioneer’s older and cheaper amps so things like bass control weren’t there. I now have 2x 8″ Pioneer slim subs under each front seat powered by a Rockford Fosgate amp. I got it all set up properly using a multimeter and scope at work to make sure the overpowering amp was set right and that there was no clipping. I think the 2 subs give the interior cabin just the right amount of tight punchy bass and since they’re under the seats I don’t need to vibrate my panels off to feel the bass also. I’m also considering making more in progress shots almost like a DIY guide style or some youtube videos not sure yet though. Anyways below is the temp wooden bracket I was using while setting up the amp wiring and settings and the new metal bracket.

I also had a little extra time to refinish my Hella horns. While they are somewhat built to be exposed to the weather they definitely weren’t built to contend with the constant barrage of salt and dirt of winter driving in Canada and the screws they supplied started showing quite a bit of rust and grungyness. I purchased some stainless steel hardware and hopefully they hold up better. I don’t have any before shots but trust me they didn’t look nice. Also while I had them apart I added a few more coats of the metallic speck blue paint I use as an accent color. I think they turned out pretty good.
Update #9
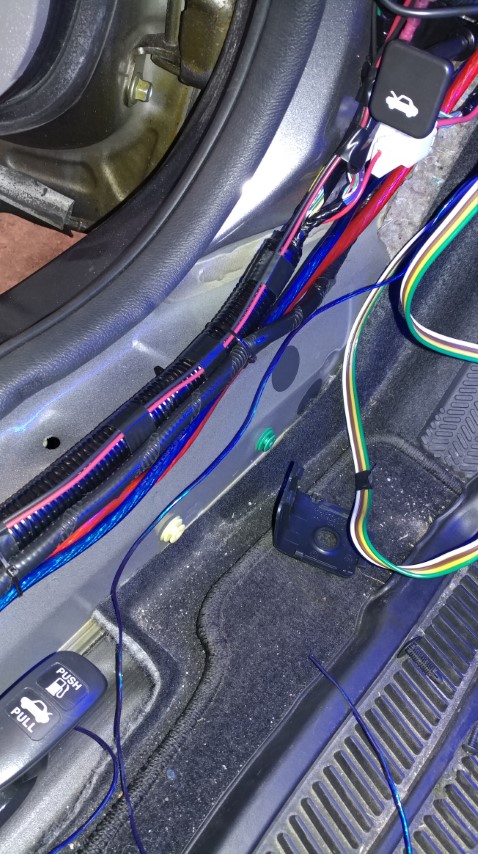
So I had a little extra time this weekend and I finally ran the bass remote wire to the front of my car. I also ended up getting a set of front WeatherTech floor mats for an amazing deal at work. Since they are lazer measured to fit it makes the front floors look so much cleaner without having an ill fitting crooked floor mat.
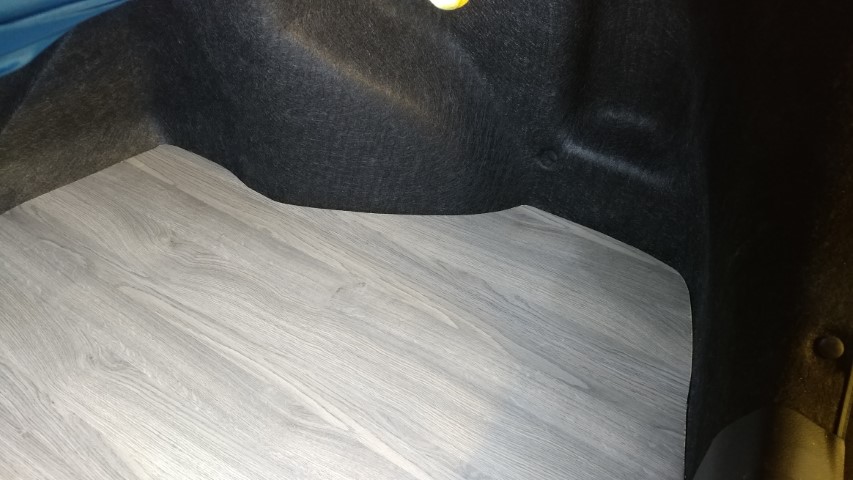
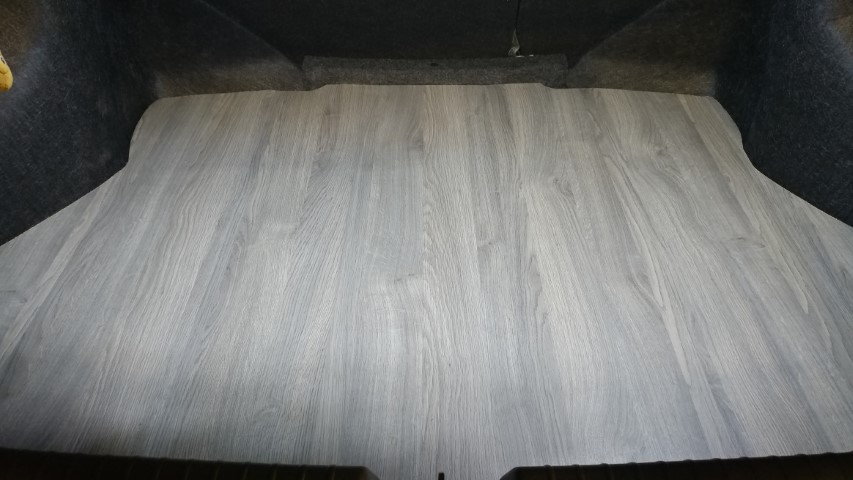
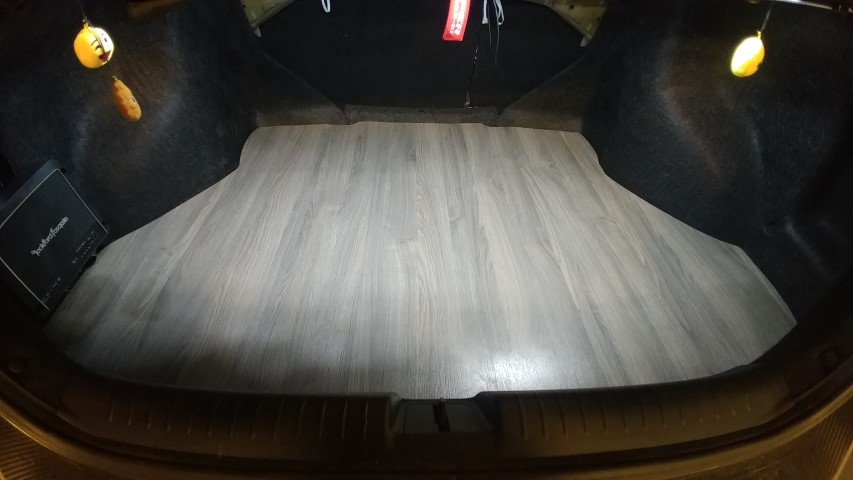
With the inside of the car feeling fresh I thought the trunk needed some attention. I originally had a universal trunk mat and was slowly collecting too much junk such as cleaning supplies and top up fluids. I collected all my cleaning supplies into a bucket to keep at work. I also got rid of a lot of top up fluids that were in large 4L containers. The only items I kept were 1L of oil and 2L of washer fluid which are neatly kept under the trunk with the spare for emergencies. Lastly I have seen it done before online so it’s nothing original but I got my hands on a case of laminate flooring and cut out a new floor. I had planned to do this a while back when I first saw it but never had any motivation until now to do it.

Update #10
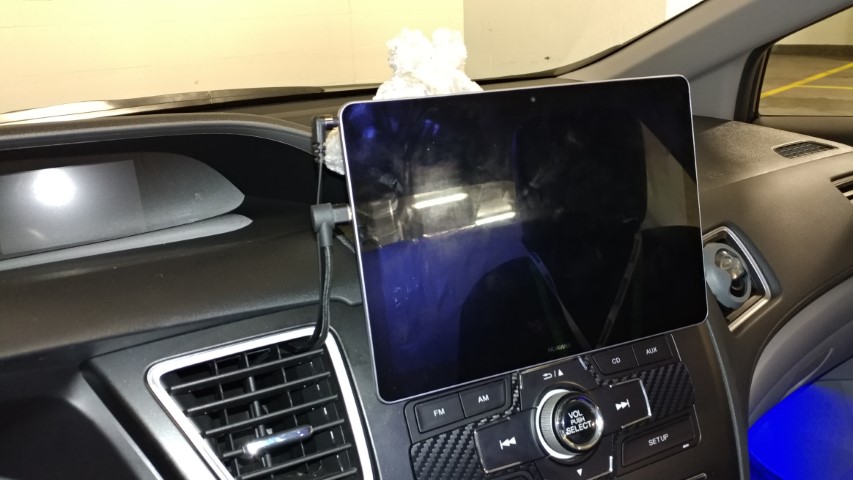
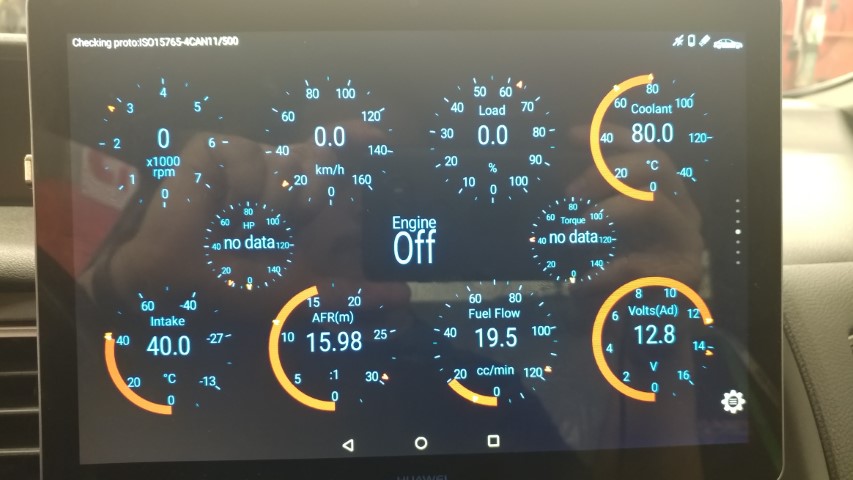
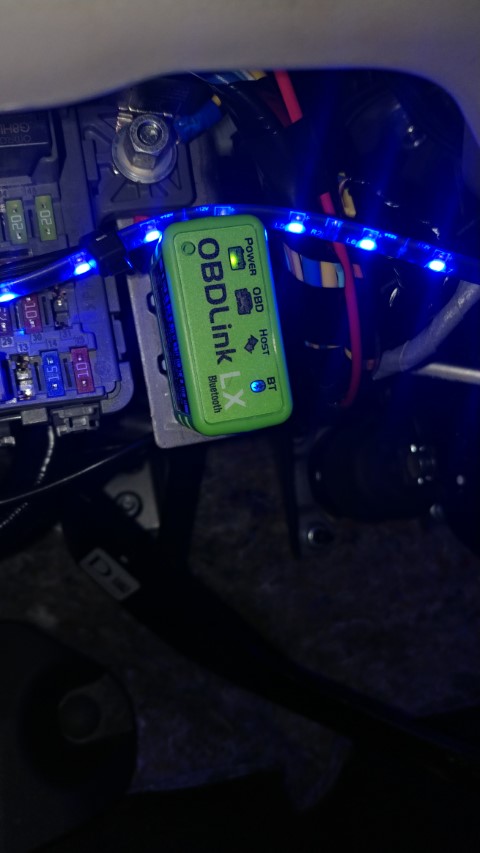
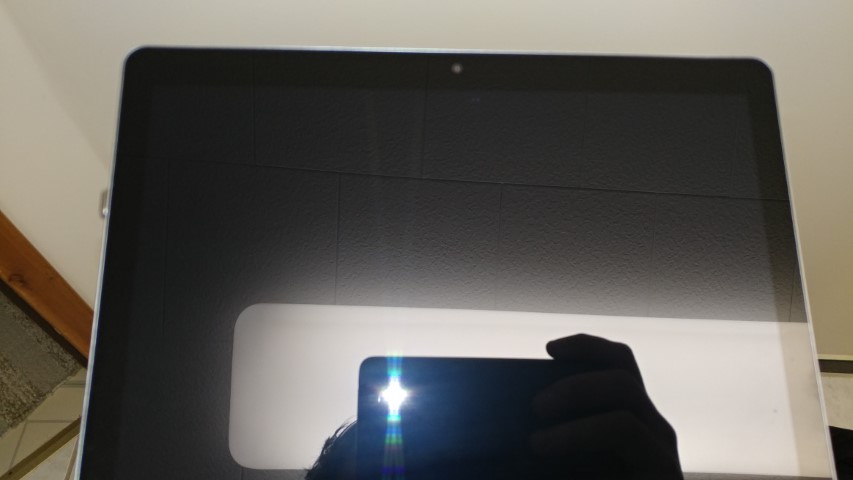
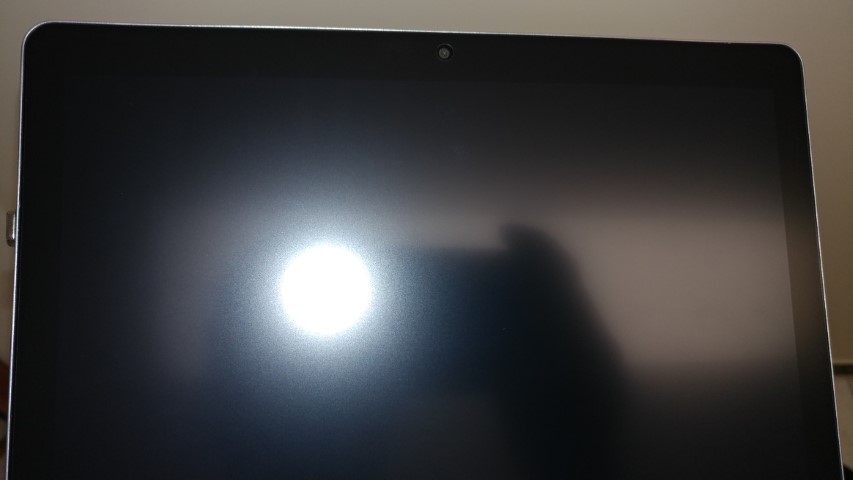
So been a but since I’ve updated here but have done a few things on the Civic lately. First up is a new tablet for the car, upgraded to a 4g 10-inch tablet. Also purchased an OBDLink LX bluetooth ECU reader which connects to the tablet for additional guages.
Next was to deal with the glare from the super gloss screen. As a lesson learned from previous experience is always buy at least 1 extra screen protector, especially if you don’t install them every day. Took me two tries to get this one on but the second try went nearly perfectly.
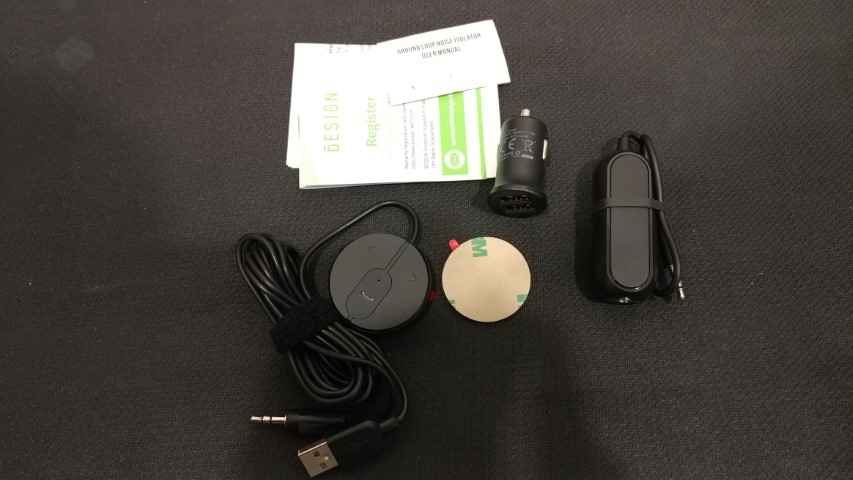
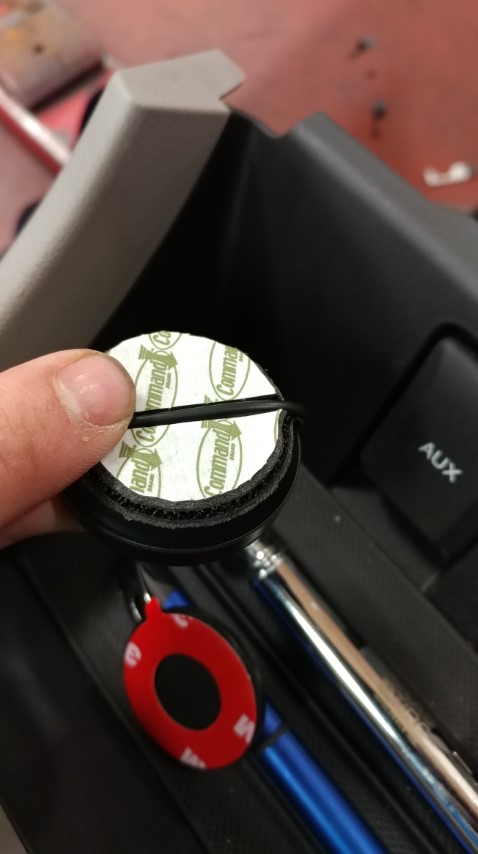
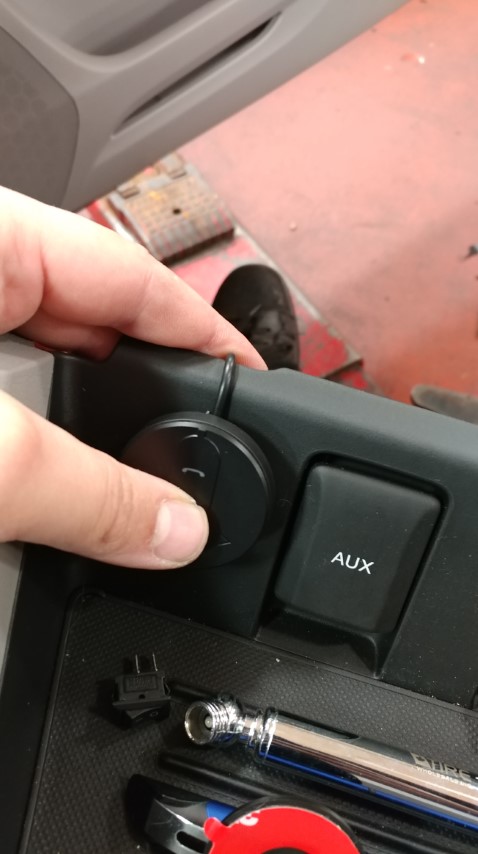
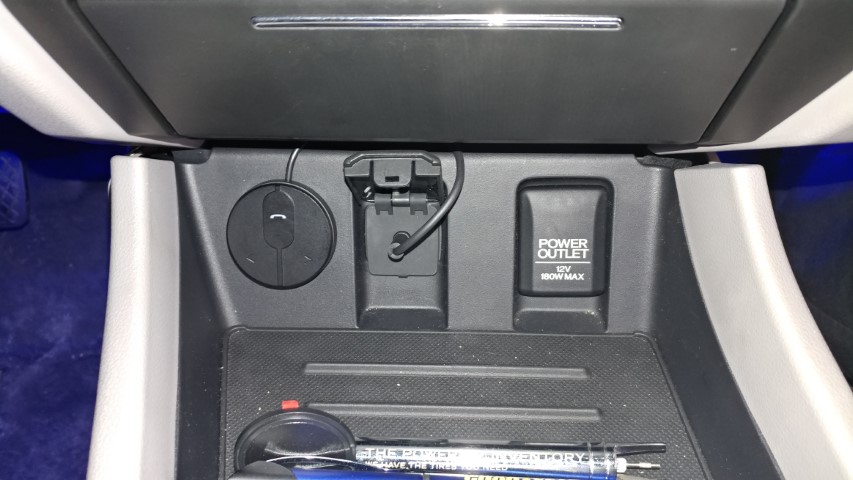
Then I found out that the aux out on the tablet is kinda weak. I then decided to purchase a bluetooth to aux adapter, the model I chose came with a ground isolator. I had to then pull out the aux cord from behind the radio leaving only the magnetic charging cable. I also decided to do the wiring for my dash cams so that I can have them on when the car is not running and parked somewhere.


After getting everything installed and testing my main concern now is that the bluetooth to aux adapter is quite a bit “louder” than any other audio source for the car, even other aux in devices. So that’s something I want to check and make sure the adapter is not clipping any audio but other than that I’m happy with the results.
