Mods: 3rd Gen Mazda 3 Sedan
Update #1
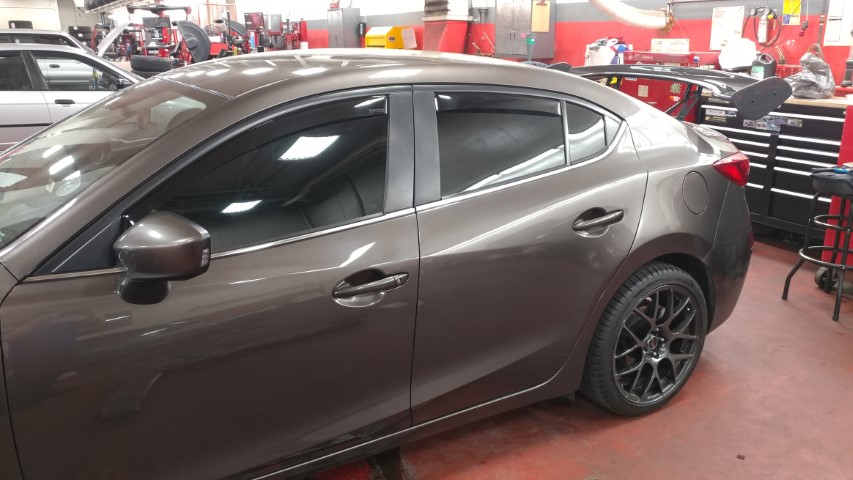
This is another co-worker’s personal vehicle and their daily driver. They’ve done some modifications to it since they’ve gotten it such as exhaust and wheels. Below are the modifications done by JT Reworks.
- Assisted with installing new grill and fog lights to already removed bumper
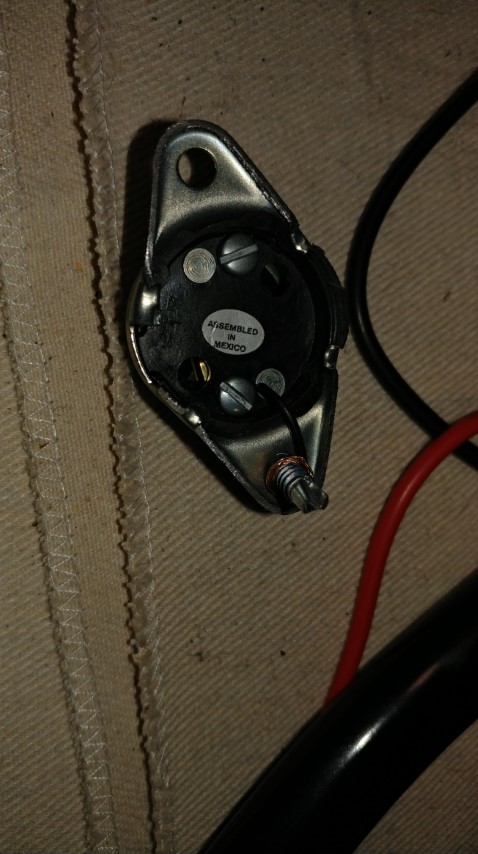
- Installed Hella horns and wired to OEM connection
- Run wiring for fog lights
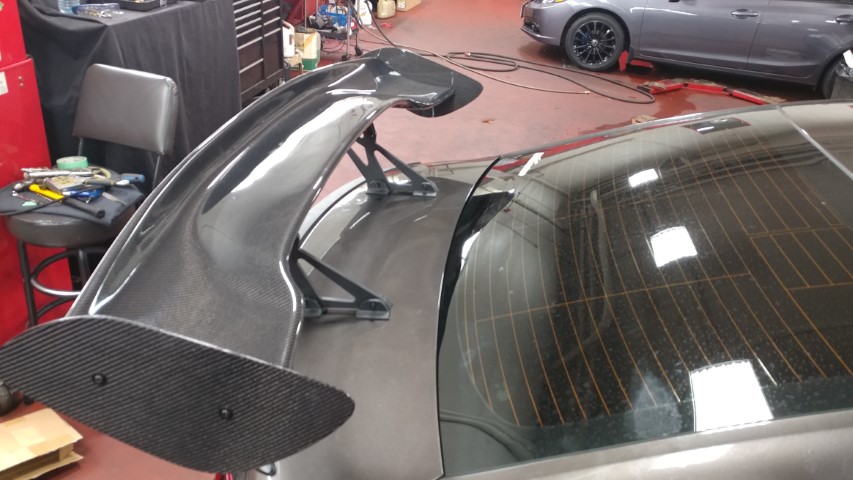
- Install aftermarket carbon wing


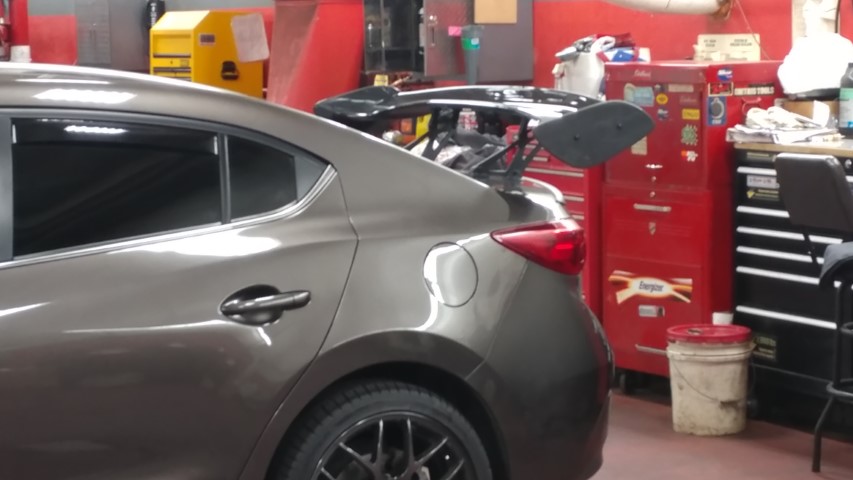
Update #2
So It’s been a couple months and my co-worker has decided the wing life wasn’t for him and has decided to improve the bass performance of his sound system. He decided to keep the OEM radio and door speakers since the car is still relatively new and they perform decently for mids and highs. He supplied all the parts which included a used but complete sub box and amp, the amp is no name other than the V12 on it and the sub is a 400watt RMS 12″ Kenwood. He also bought a LOC and 1600watt amp kit from Walmart. The 1600watt kit was a recommendation from myself as I have experienced doing my amp wiring twice and going big on the power wire has no adverse effects other than a little added weight.
First up I pull a wiring diagram from www.prodemand.com and since he is keeping the stock radio and door speakers for now I have to tie in to the car’s built in amp supplying the signal to the rear door speakers.
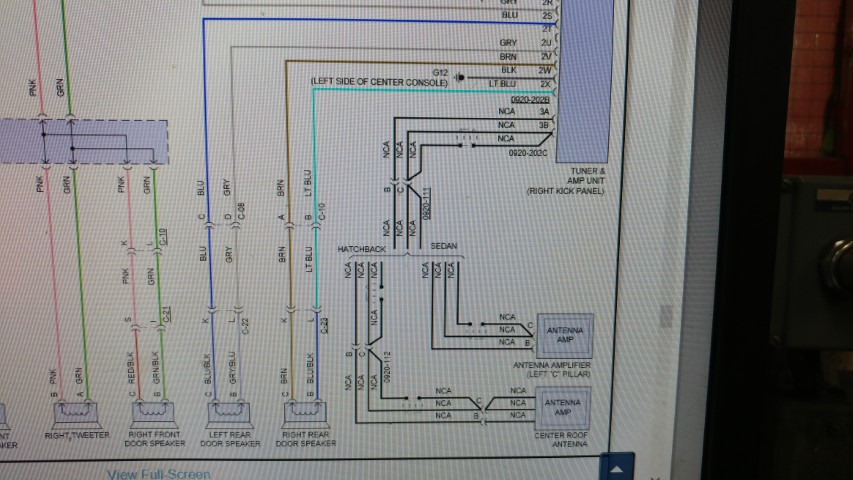
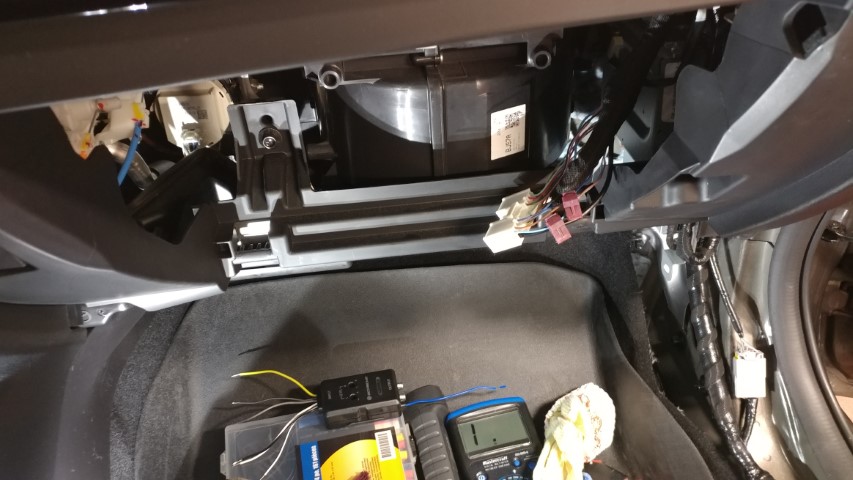
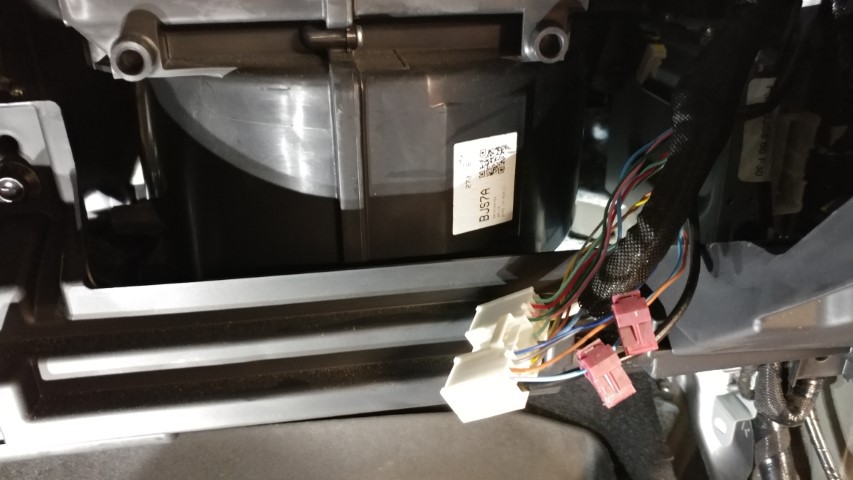
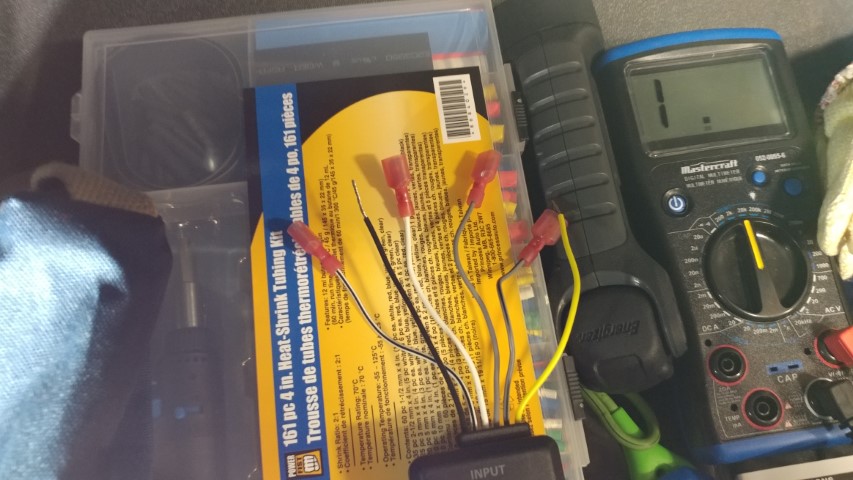
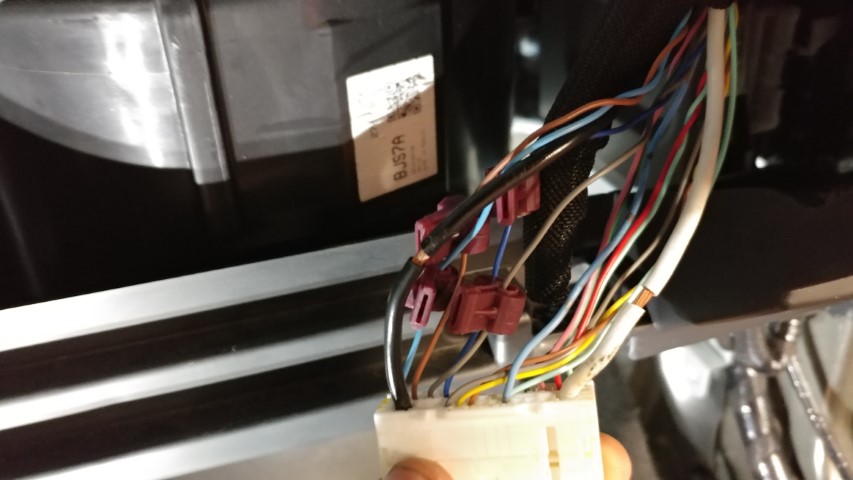
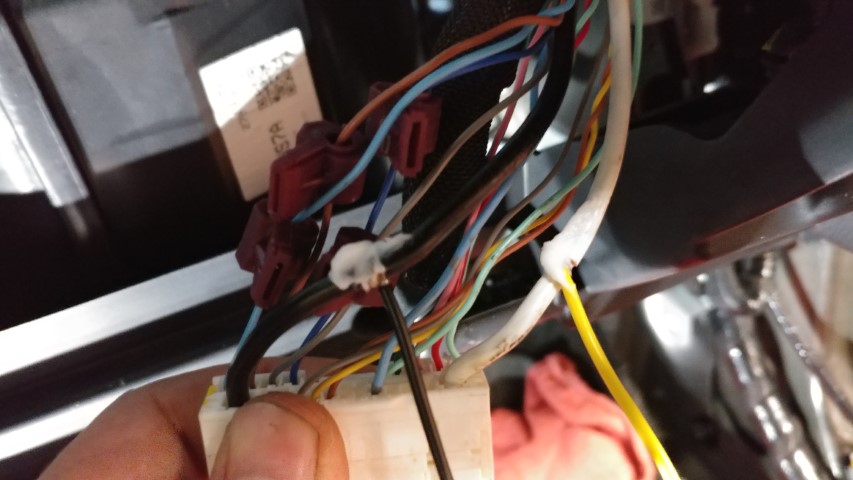
As you can see from the diagram from ProDemand above the tuner/amp is located in the right kick panel and I’m looking for 4 wires, blue/gray and brown/light blue. I begin by disconnecting the negative battery terminal so that there is no power going to any critical systems such as the OEM amp or airbags since I will be taking apart the interior trim panels. I eventually just took all of them off since on this generation of Mazda 3 the panels are pretty easy to pull off unlike on my Civic. As you can see below I manage to find and disconnect the wiring harness from the OEM amp and begin my wiring. The wiring was pretty easy since everything I needed was on that amp plug, I opted to use T-taps on the speaker wires and solder in the LOC power and ground directly to the amp power and ground wiring.

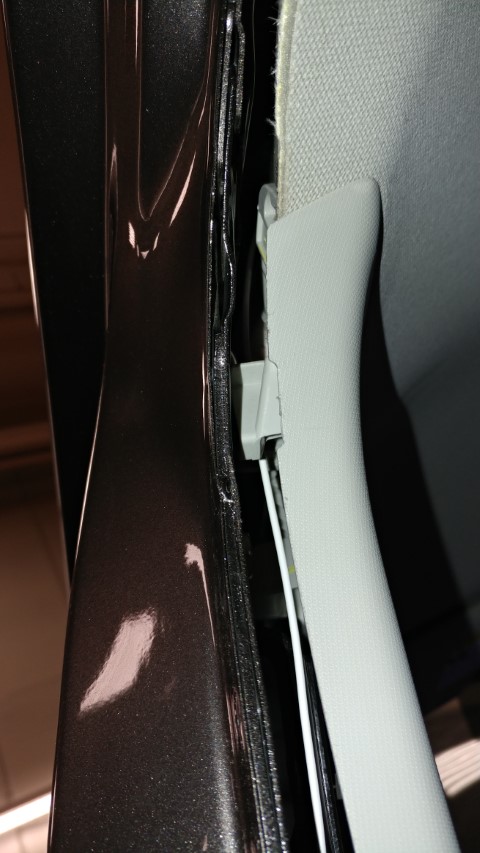
After I got the hardest and scariest part done I was able to begin running the RCA cables, and remote turn on down the passenger side of the car. The nice thing about this LOC which was the G142LOC90 from Scosche is that it will send a signal to the amp once it detects speaker level inputs so I don’t need to find a key on source to send to the amp.

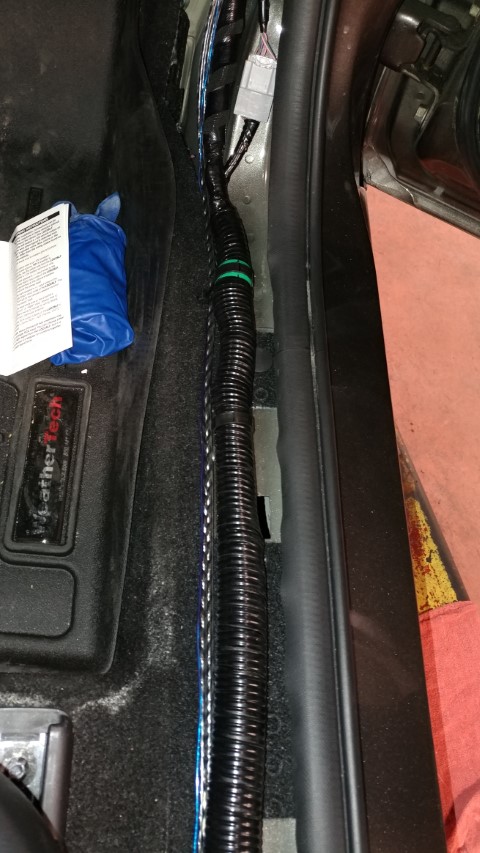

Hard to see in the pictures above but I ran both wires alongside the factory looming and secured it with zip-ties to prevent unwanted movement that could cause rattles while driving. Next was to start running the heavy gauge amp power wire. This is were I really like paying attention to detail since you usually don’t have as many plastic panels to hide things. Also a simple trick for crimping those large gauge terminals is to either use a pair of large Vise-Grips or a bench vise as seen below, I ended up using both methods.


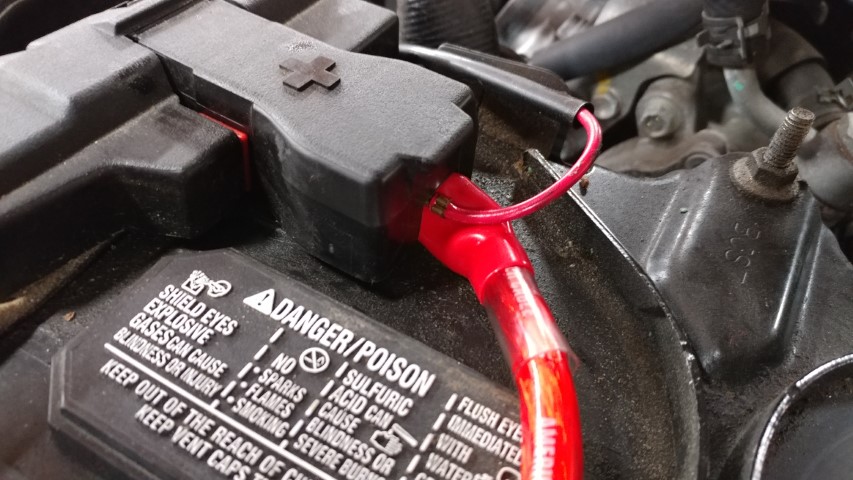

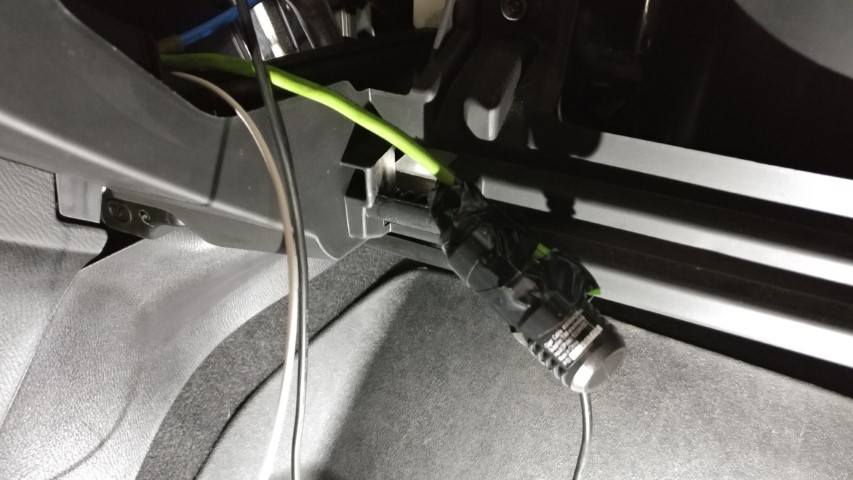
As you can see I neatly cut the positive battery terminal cap to fit properly back onto the terminal, I don’t think I can count how many times I’ve seen either these caps ripped off or simply left partially open after an amp install. These caps are a safety feature since they prevent any accidental shorting across the battery terminals. Anyways the lead wire for the fuse holder was just long enough for me to pass it under one of the fuse box mounting points allowing me to secure the fuse holder to the driver side strut tower and run the wire into the fender then into the cabin of the car.


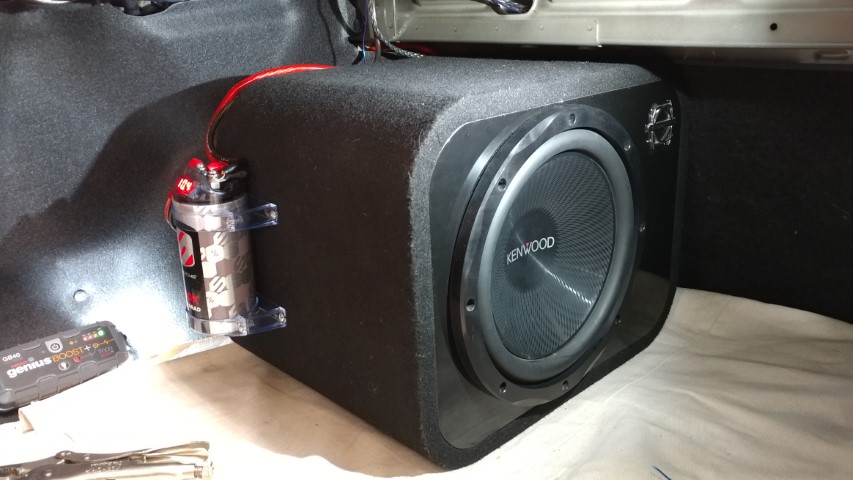
After getting all the wiring I need to the back i can start working on the Amp/Sub box itself. The wiring kit itself came with a Scosche 500K Micro-Ferad capacitor. I know many people have mixed feeling about capacitors some say they’re a must some say they’re useless etc etc. I personally think capacitors should be used more as a power delivery filter rather than a device to prevent headlight dimming. At any rate this capacitor will more or less be for aesthetics rather than pure function.


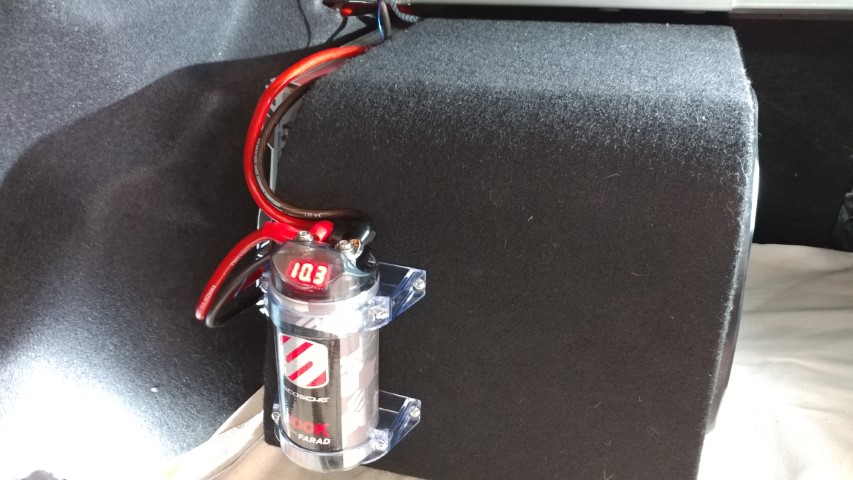
I think I did a cleaner wiring job than I did on my Civic(I hid a lot of the bad wiring behind my trim). The amp should have been set for the sub and I couldn’t hear any distortion during its operation. I’m probably still going to throw an oscilloscope on it real quick when I help put in his WeatherTech trunk liner in a couple days and just make sure everything is working well.
Bonus!
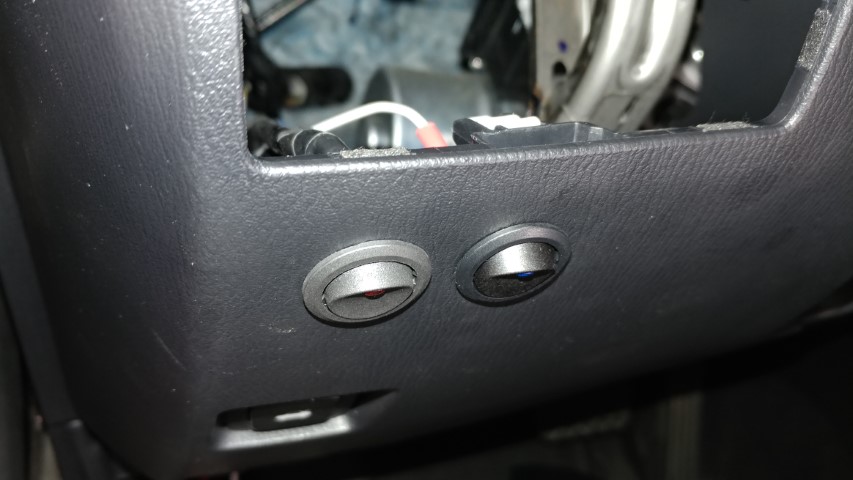
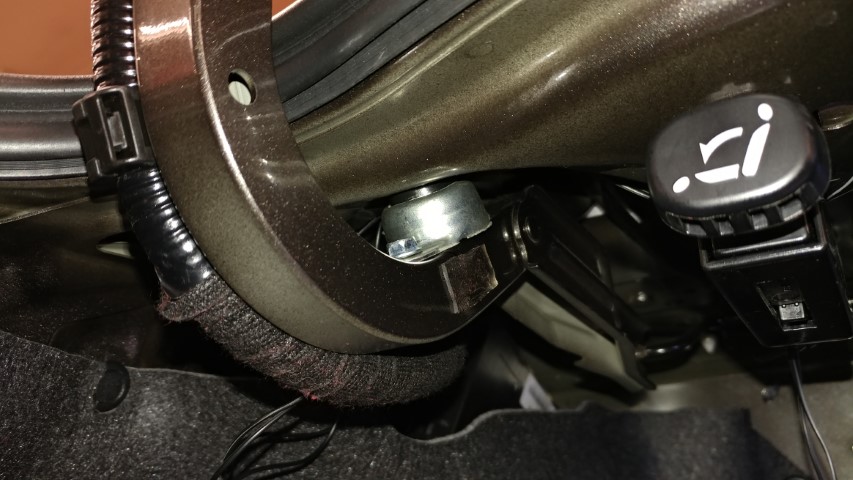
While we were at it my co-worker has had a non functioning trunk light for quite a few months now due to a damaged control unit which he said Mazda wanted something around the $200 for just the part. Since we had power to the trunk now I decided to tackle it and see if I could get something working before the shop closed. He purchased some high intensity LEDs like the ones I installed in my Civic and a switch. He was perfectly fine using a simple toggle switch mounted somewhere that he could turn on and off. I wasn’t quite satisfied by that and I would personally find it a little annoying to toggle it on and off every time you opened the trunk. So I put my mind to work to try and figure out a solution to this problem. I wanted something simple and since the control unit for the OEM light was already damaged I didn’t want to tie into the OEM system at all and risk damaging more things, so I fixed it with a horn button. . . Yes it seemed my solution was a $10 horn button we sell at our shop. I bought the button and promptly mounted it where the regular rubber bumper stop would go on the driver side. I had to cut the backside of the button as it was a bit too tall but I still ended up shimming the passenger side bumper a little so not too much pressure was on the button. All in all i think it works pretty good, we’ll just have to see how long it lasts.

Well I think that’s all for now the next update will probably be for his footwell lighting and hardwiring his dash cam and a charging cable to his phone mount. So keep an eye out for that.
Update #3
Got the footwell lighting done on his Mazda 3 as well as hardwiring the dash cam and a magnetic charging cable for his phone. I ran the switched ground wire from the dome light itself since it was less intrusive than splicing into the factory harness. He also wanted to be able to run the lights while the vehicle was off which required the use of a relay to switch between the dome light ground and constant ground.